Electrical work
| « Engineering the perfect rouladen | Insulation » |
The electrical work for once was straight-forward.
I'd previously mounted a small exterior-grade panel on the back side of the cottage as I wanted to provide a local shutoff. I ganged up two walls each into their own circuit breaker and provided a separate circuit breaker for an exterior receptacle.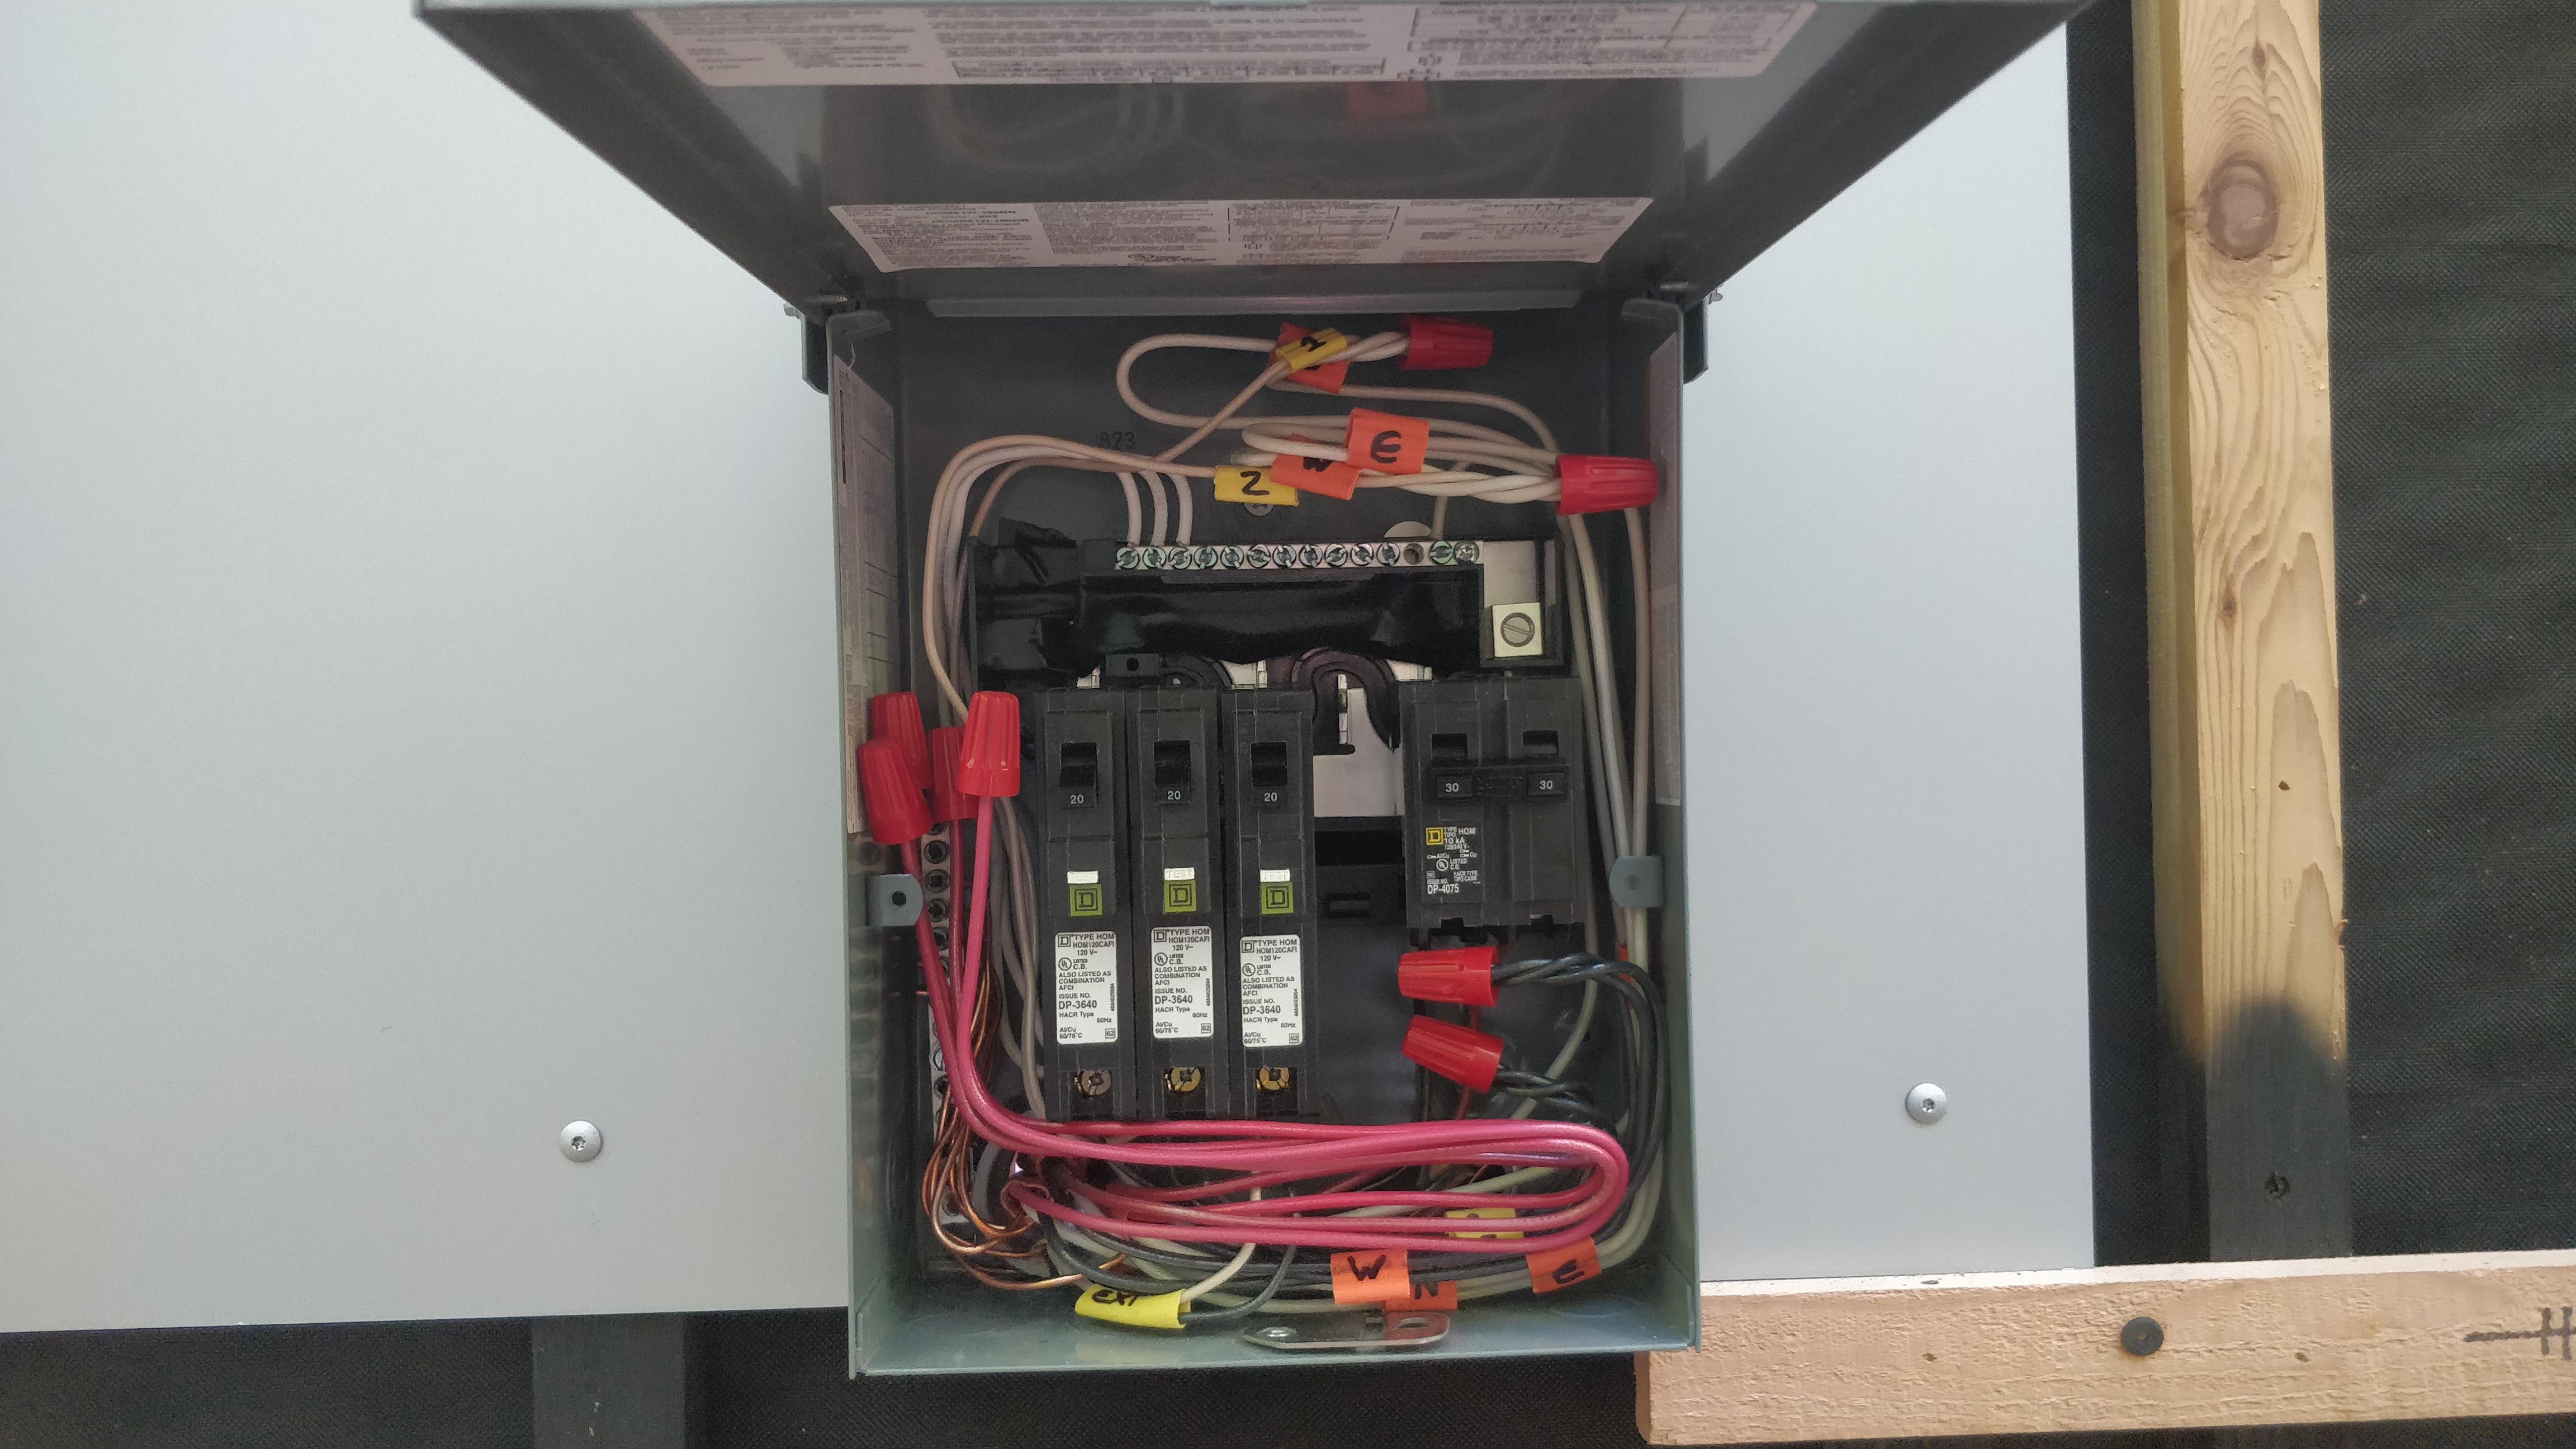
The wiring on the inside was trivial since each wall already had its own feed coming in and I didn't need to go around any corners. The only switch box provides switches for the interior light (two can lights), an exterior light, and the exhaust fan.
I've really enjoying wiring with push-in connectors rather than wire nuts (I generally prefer the Wago brand wire connectors you can get at Amazon). Unfortunately they don't seem to make any that accept 10ga wire so the first junction box of each wall still needed large-gauge wire nuts to get down to 12ga.
I pre-wired for a wall-mounted ceramic panel cove heater (part 0632C-120-WT) that matched other ones that we already had in our main house and were quite happy with.
I've ended up controlling it with a Mysa smart thermostat that I'm quite happy with.
I finally pulled the CAT6 that I'd coiled up in the crawlspace of the main house all the way into the cottage and mounted the Ubiquiti Unifi AP AC PRO access point - the fourth one for the house. It's just a delight when wiring I staged four years ago just works. It's also a delight to finally have high-fidelity internet in the cottage.
The interior lighting consists of two cheap Halo E5ICAT fixtures from Home Depot.
The exterior sconce as shown in the post on siding is a RAB Lighting VXBR100DG, one of Build LLC's favorite lighting fixures. It's cute and cheap, around $35.
| « Engineering the perfect rouladen | Insulation » |