Cottage roof
| « Cottage walls | Roofing » |
The roof framing was again a bit precious due to the nature of the floor-to-ceiling windows. Rather than having simple-ish roof rafters between the beams and then separate short extensions for the overhangs, I decided to notch the beams into full-length solid-sawn 2x10 rafters. I made a template out of scrap plywood, transcribed AutoCAD-derived dimensions onto it, and it magically fit on the first cut.
Additional preciousness came from having to make landing spots for the joist hangers (simple LUS26Z, not fancy sloped ones) and having to kick them up a bit so they wouldn't project into the ceiling plane.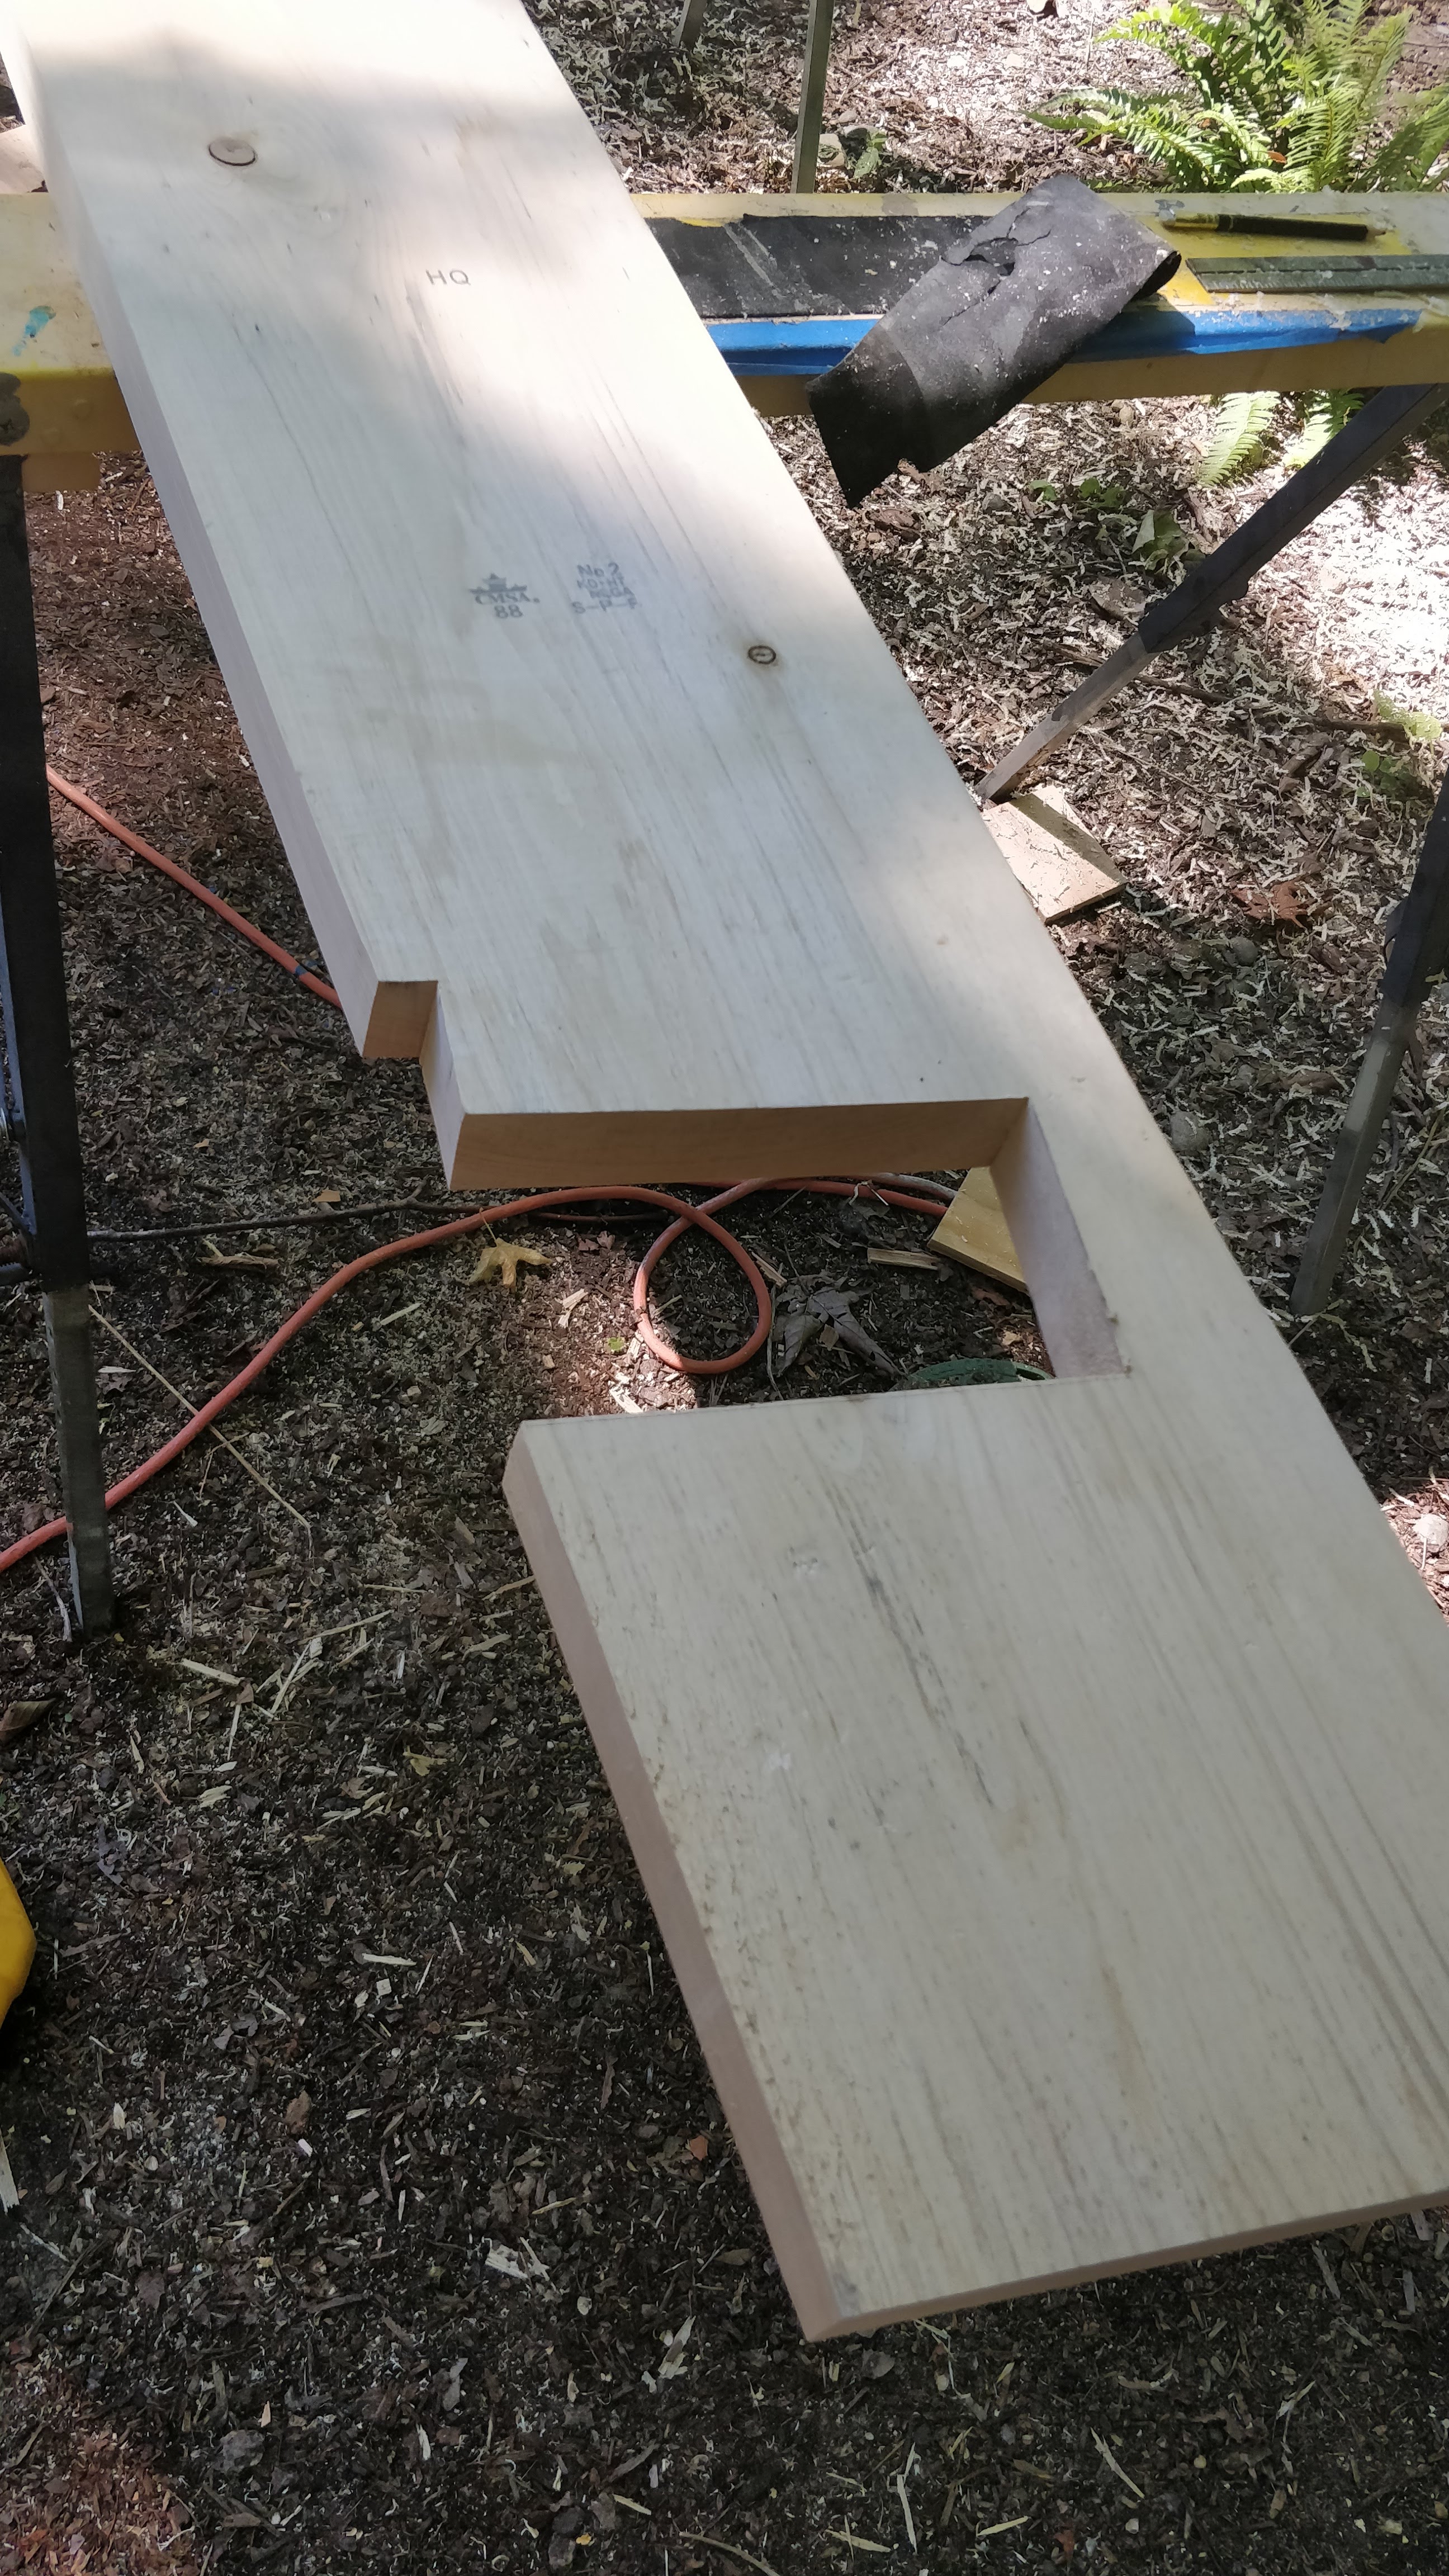
They came together pretty quickly, even though a number of variations were needed (e.g. accounting for presence/absence of sheathing on the overhangs, end pieces, etc.).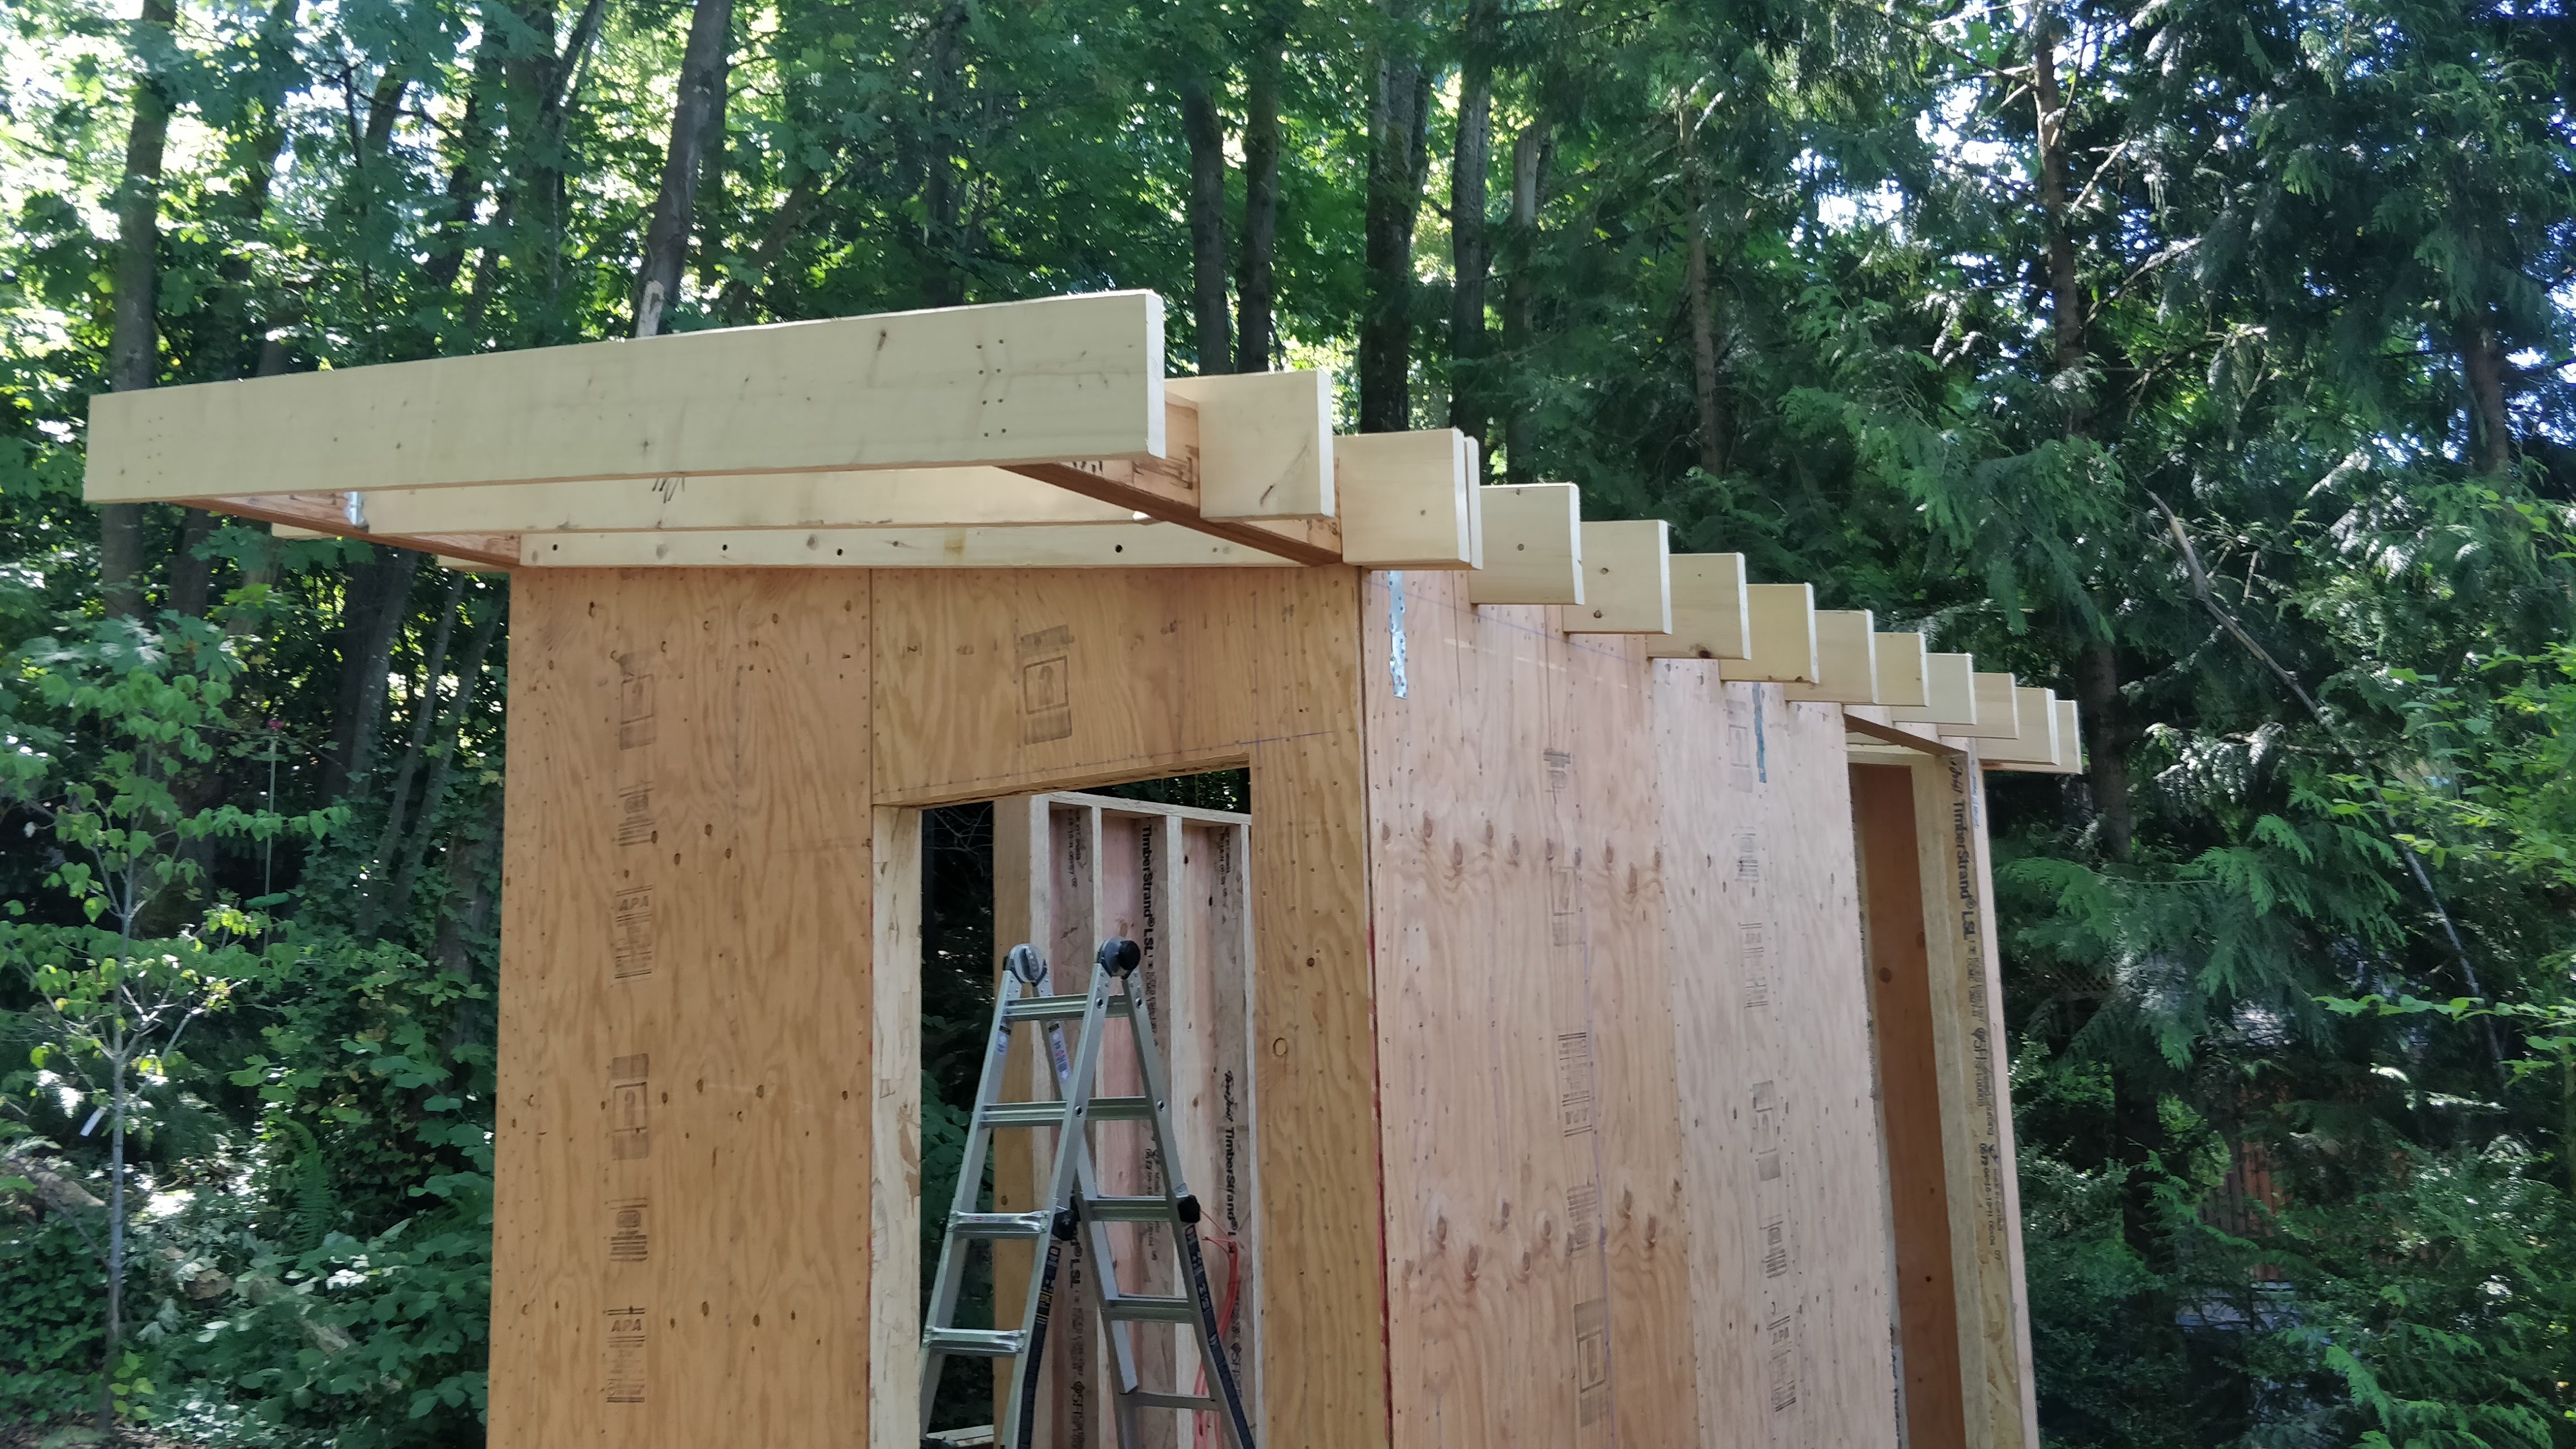
The notched nature made them self-supporting while I was installing the joist hangers which was quite nice when handling 10' long pieces mid-air.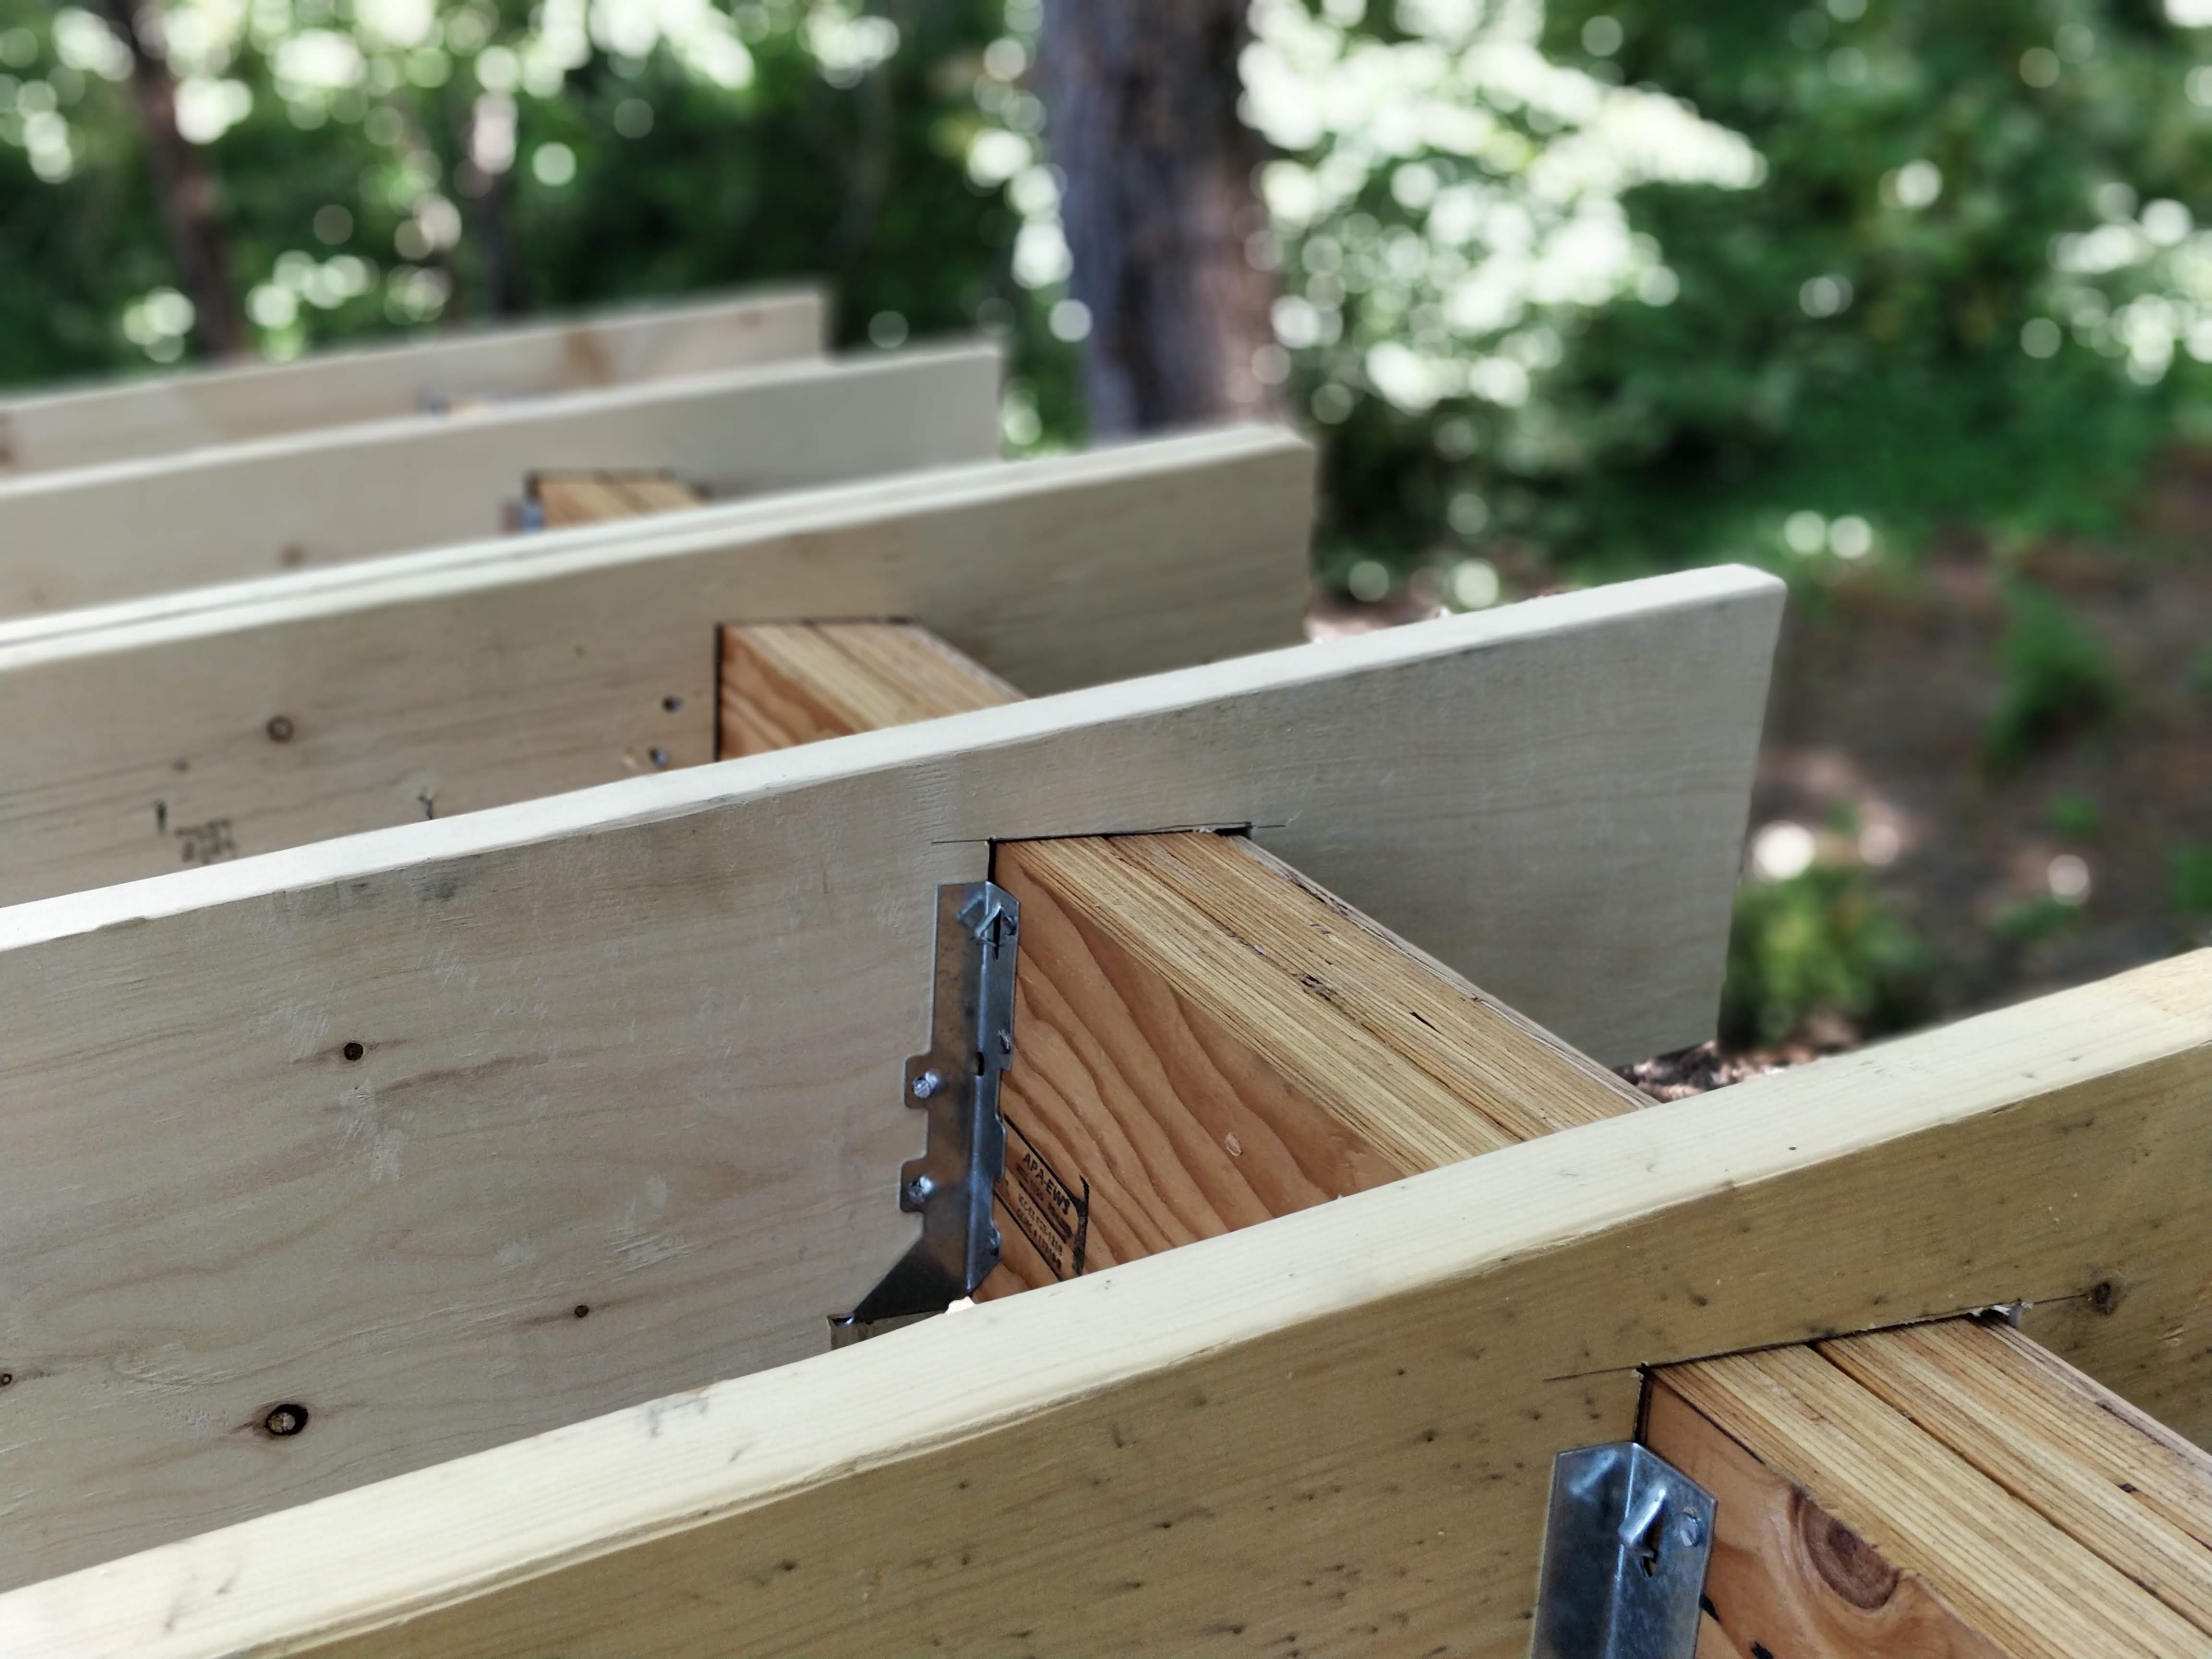
I then added LVL rimboards (per my usual rule of not trusting dimensional lumber to be straight for more than 4')...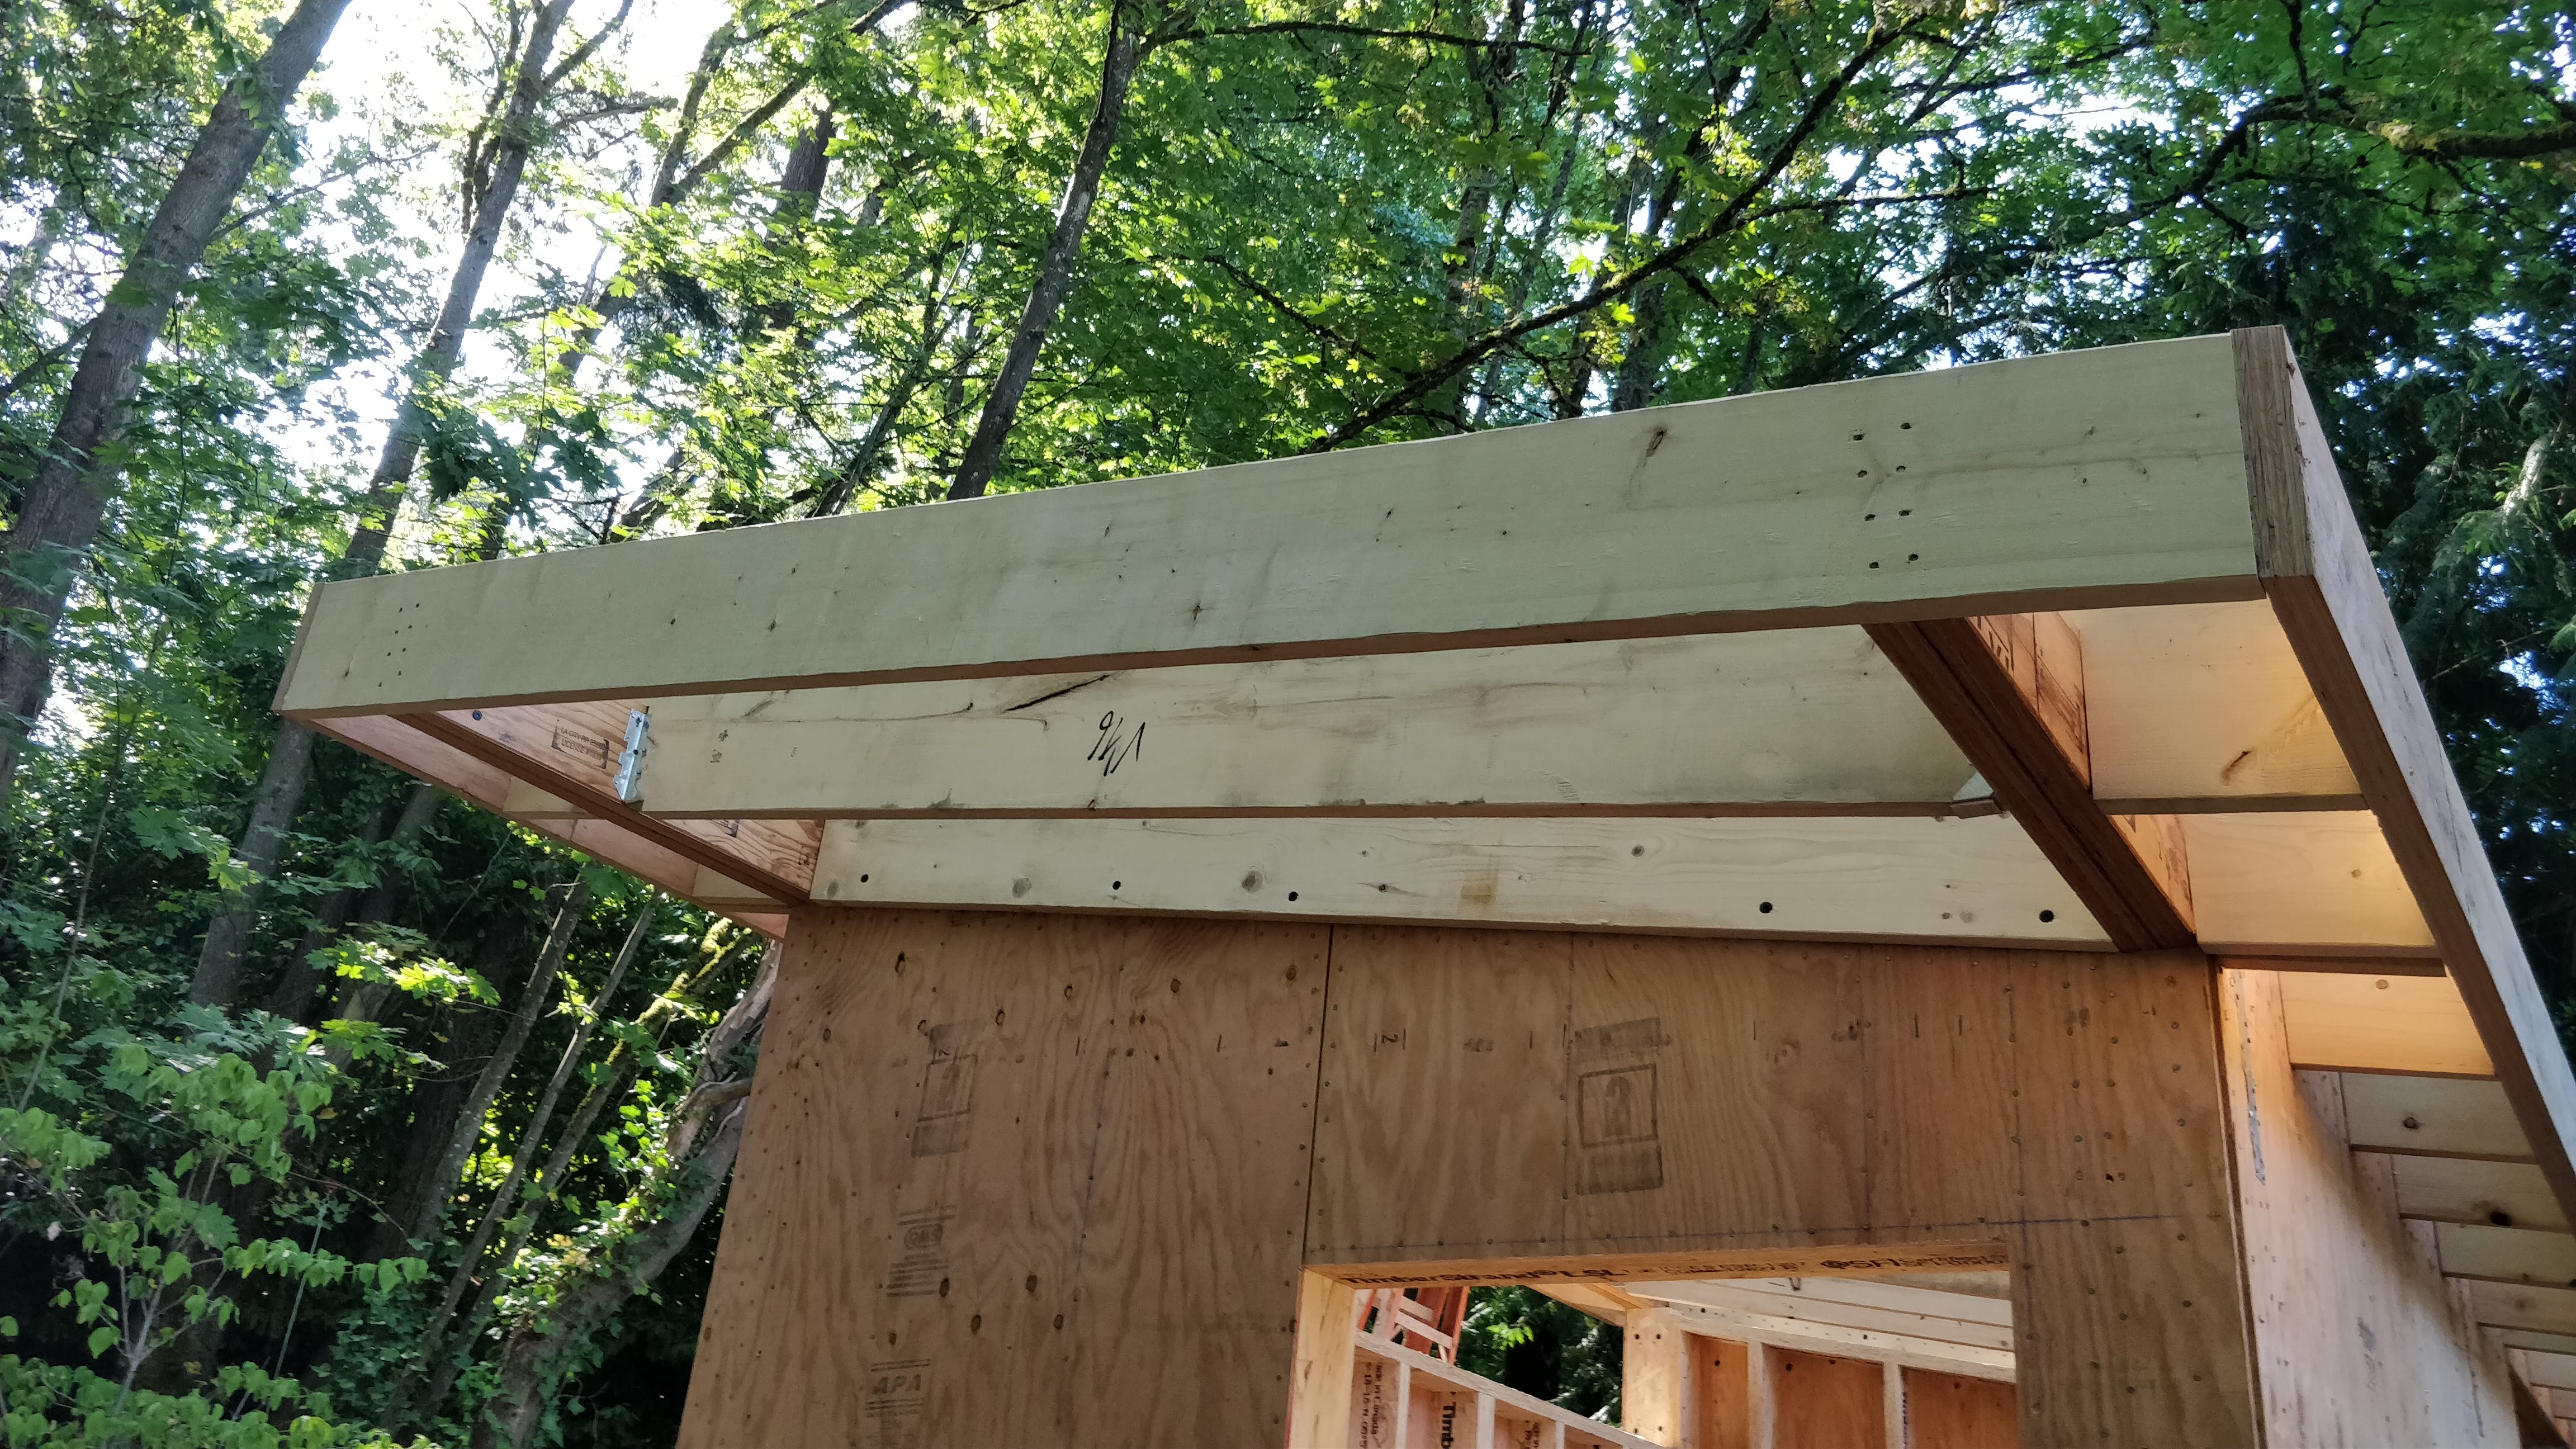
...though in defense of dimensional lumber, the 2x10s from Dunn Lumber were for the most part quite straight (less than 1/8" of deviation) and I aligned any non-straight pieces to crown sequentially and in the same direction, much like Precision Framing had taught me many years ago.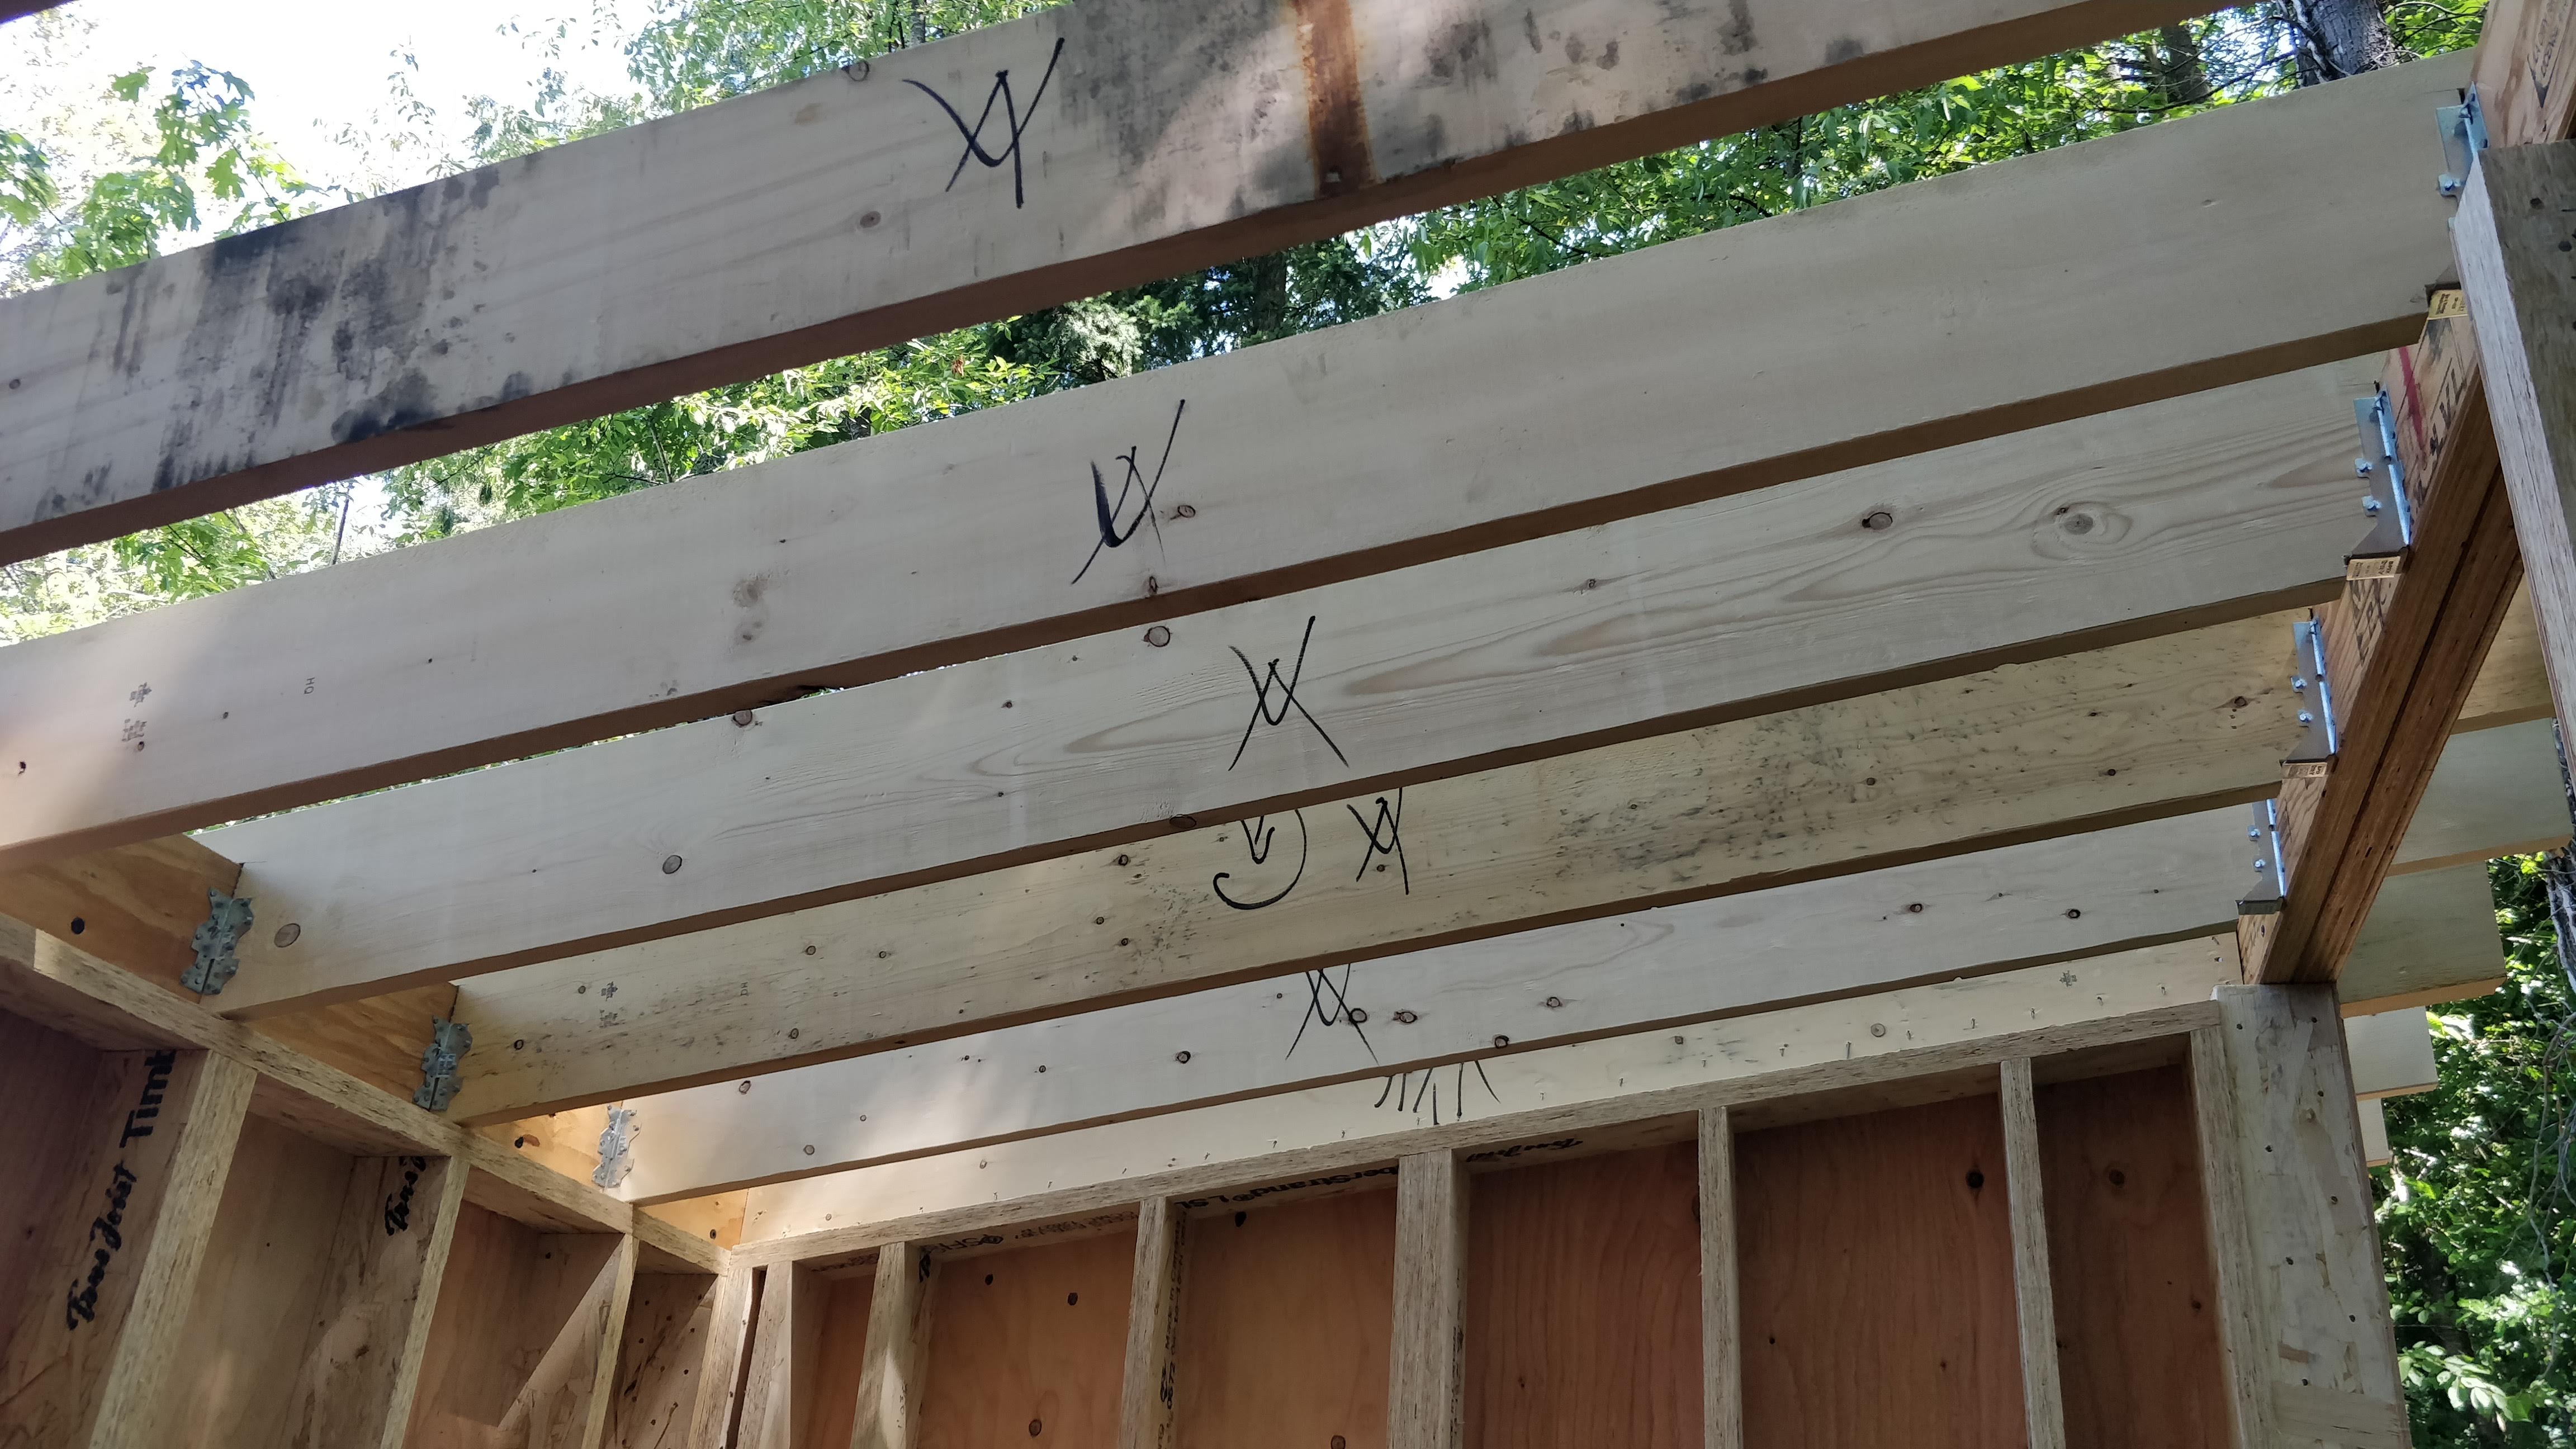
Finally, I nailed on and trimmed off the roof sheathing (simple 1/2" plywood, same as the wall sheathing).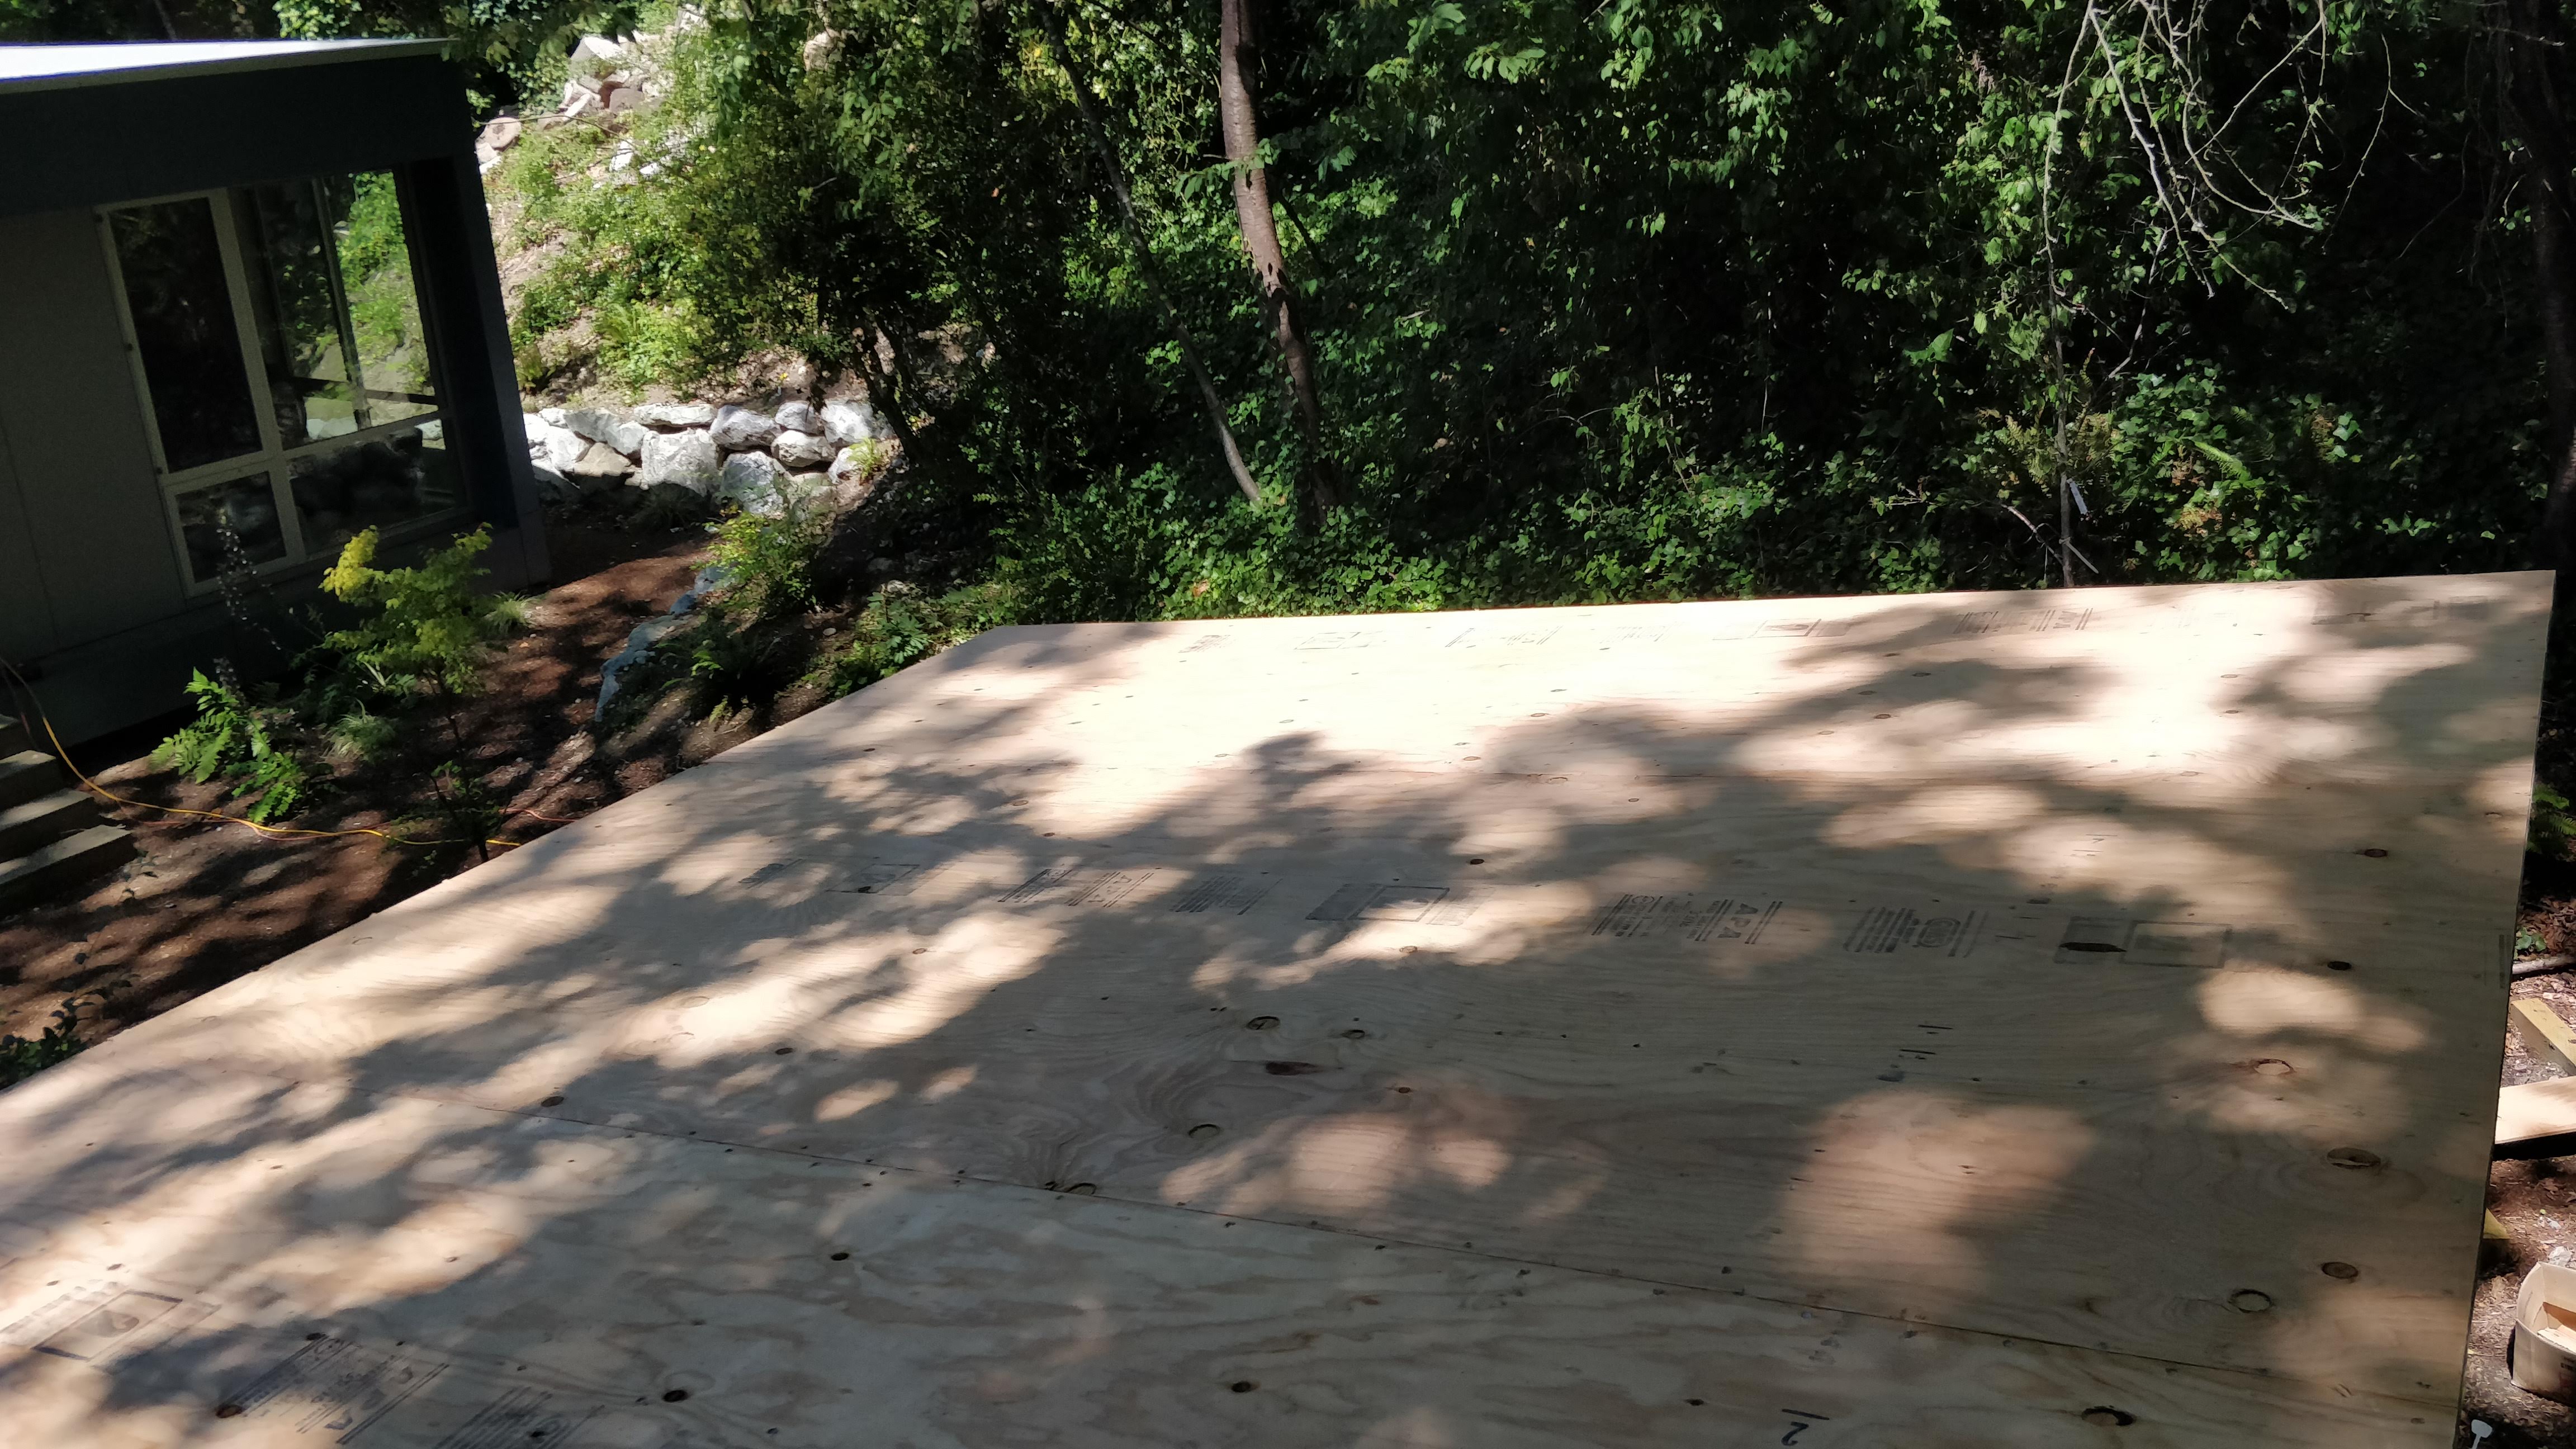
Oh, and did I mention I hate heights? Getting all the roofing plywood up and installed was pretty close to a hard nope but I managed to get through it.
| « Cottage walls | Roofing » |