Roofing
| « Cottage roof | Windows » |
As discussed previously, I already don't enjoy heights, so spending a lot of time on a roof is just about the last thing I want to do, but it's what the project needed...
Our main house (which this cottage is intended to mirror) uses a dark brown standing seam metal roof with 1' rib spacing and flat metal fascia covering the roof framing. I wasn't able to source the same product (they don't sell non-wholesale) but I got close by using Champion Metal Snap-Loc in Kodiak Brown sourced from my friends at Dunn Lumber.
The hack job, however, started with the fascia. The supplier doesn't provide any dedicated fascia stock (i.e. just something flat with hemmed edges) but they do offer a ridge cap with hemmed edges that they custom bend to the angle of your ridge. Great - let's just get that with a zero degree bend in it and we're off.
While I place my lumber orders online whenever possible, Dunn's system isn't set up for online orders for the metal roofing material (probably due to color customization etc.) so this needed to be a phone order. Regrettably, the person on the phone mistook my request for hemmed-edge ridge cap (part TSNOR) for angled-edge ridge cap (part TSNRC), partially because Dunn relabels the supplier's product codes into their own product codes (because of course).
I didn't figure this out only once I was about to start the install, a few weeks after the materials arrived, and the choice was to either plow ahead with a hack or wait several weeks for the right replacement part to show up. So, we plowed ahead.
This meant that I needed to cut the angled edge off the sheet metal with an angle grinder (shears didn't produce a clean enough cut), leaving me with a sharp flat edge after around three hours of cutting and grinding. I needed to make the same cut on what ended becoming the top and bottom of each piece, but the top cut was going to be covered by drip edge stock so at least it didn't need to look particularly good.
When it came time to install the material, not having any angle or hemmed edge meant that it was super-wobbly and difficult to bring up to and attach to the roof without leaving behind bubbles or folds. I tried to wing it on the first piece (never wing it) and ended up having to rip it back off and replace it with a new (painstakingly trimmed) piece.
All in all, a job that was supposed to have been a quick morning jaunt took several days, but at least it came out looking alright: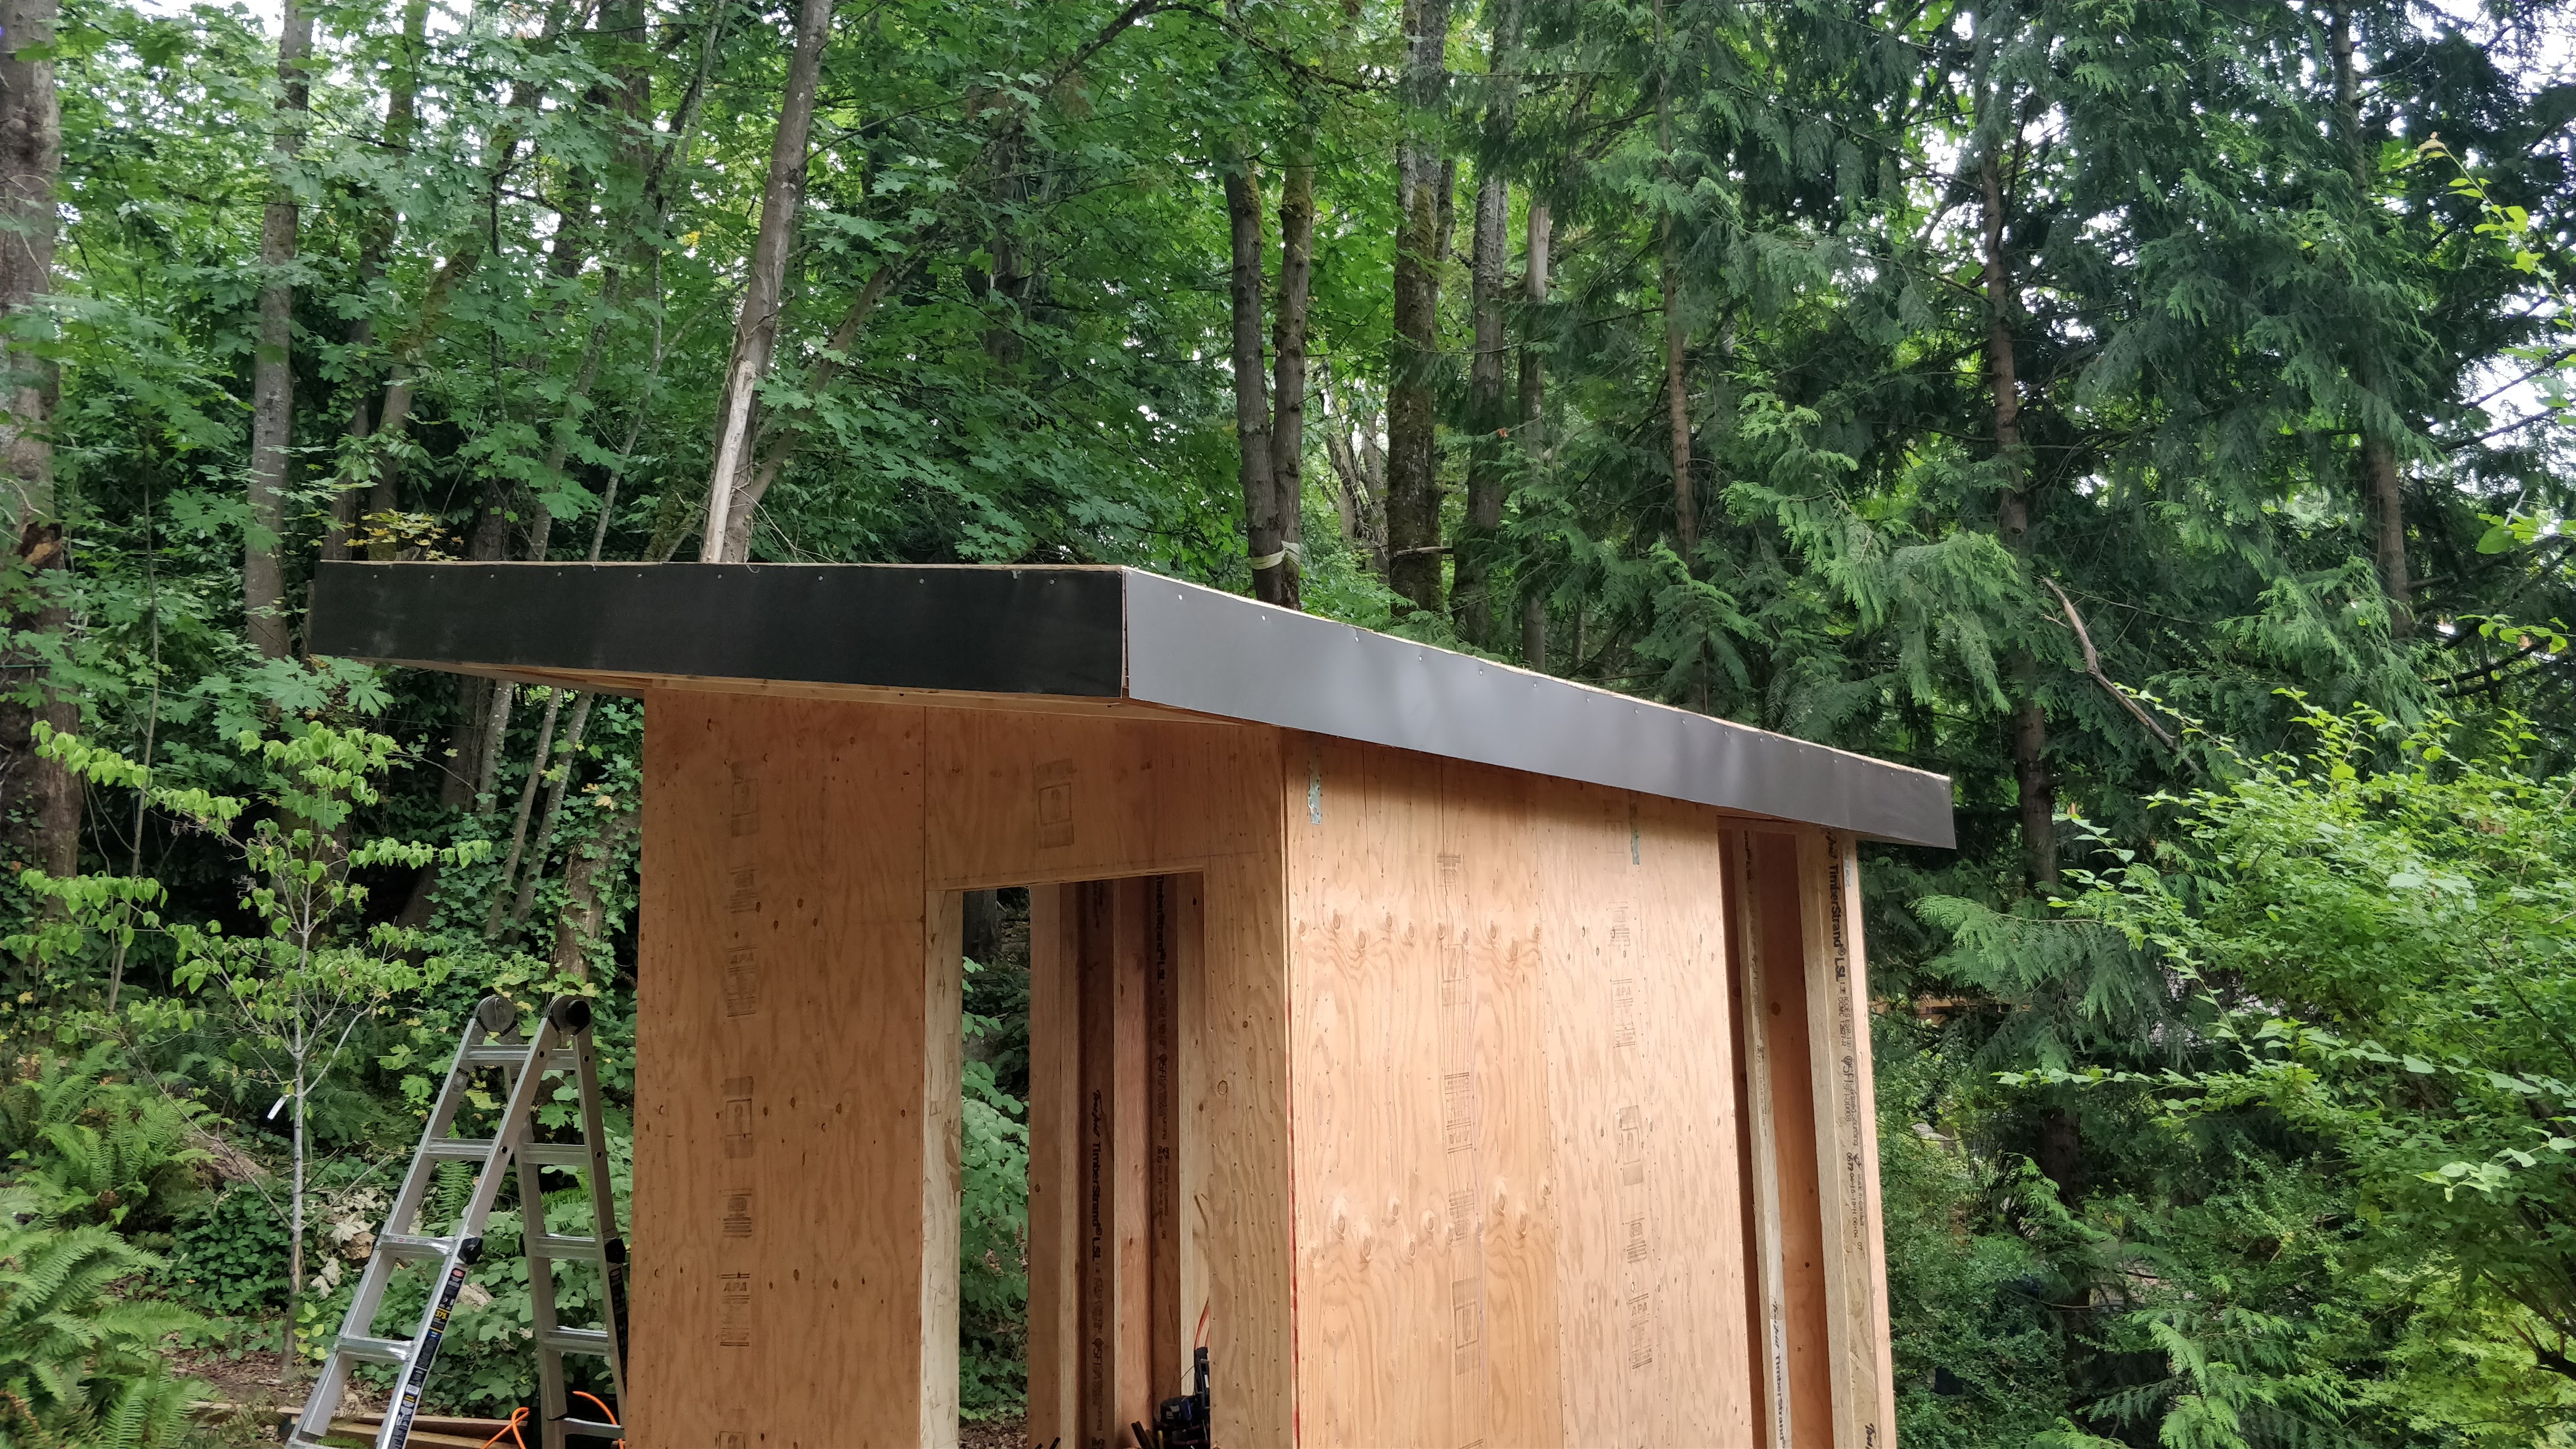
Next, I rolled out the roofing felt and installed the front drip edge (part TSNET):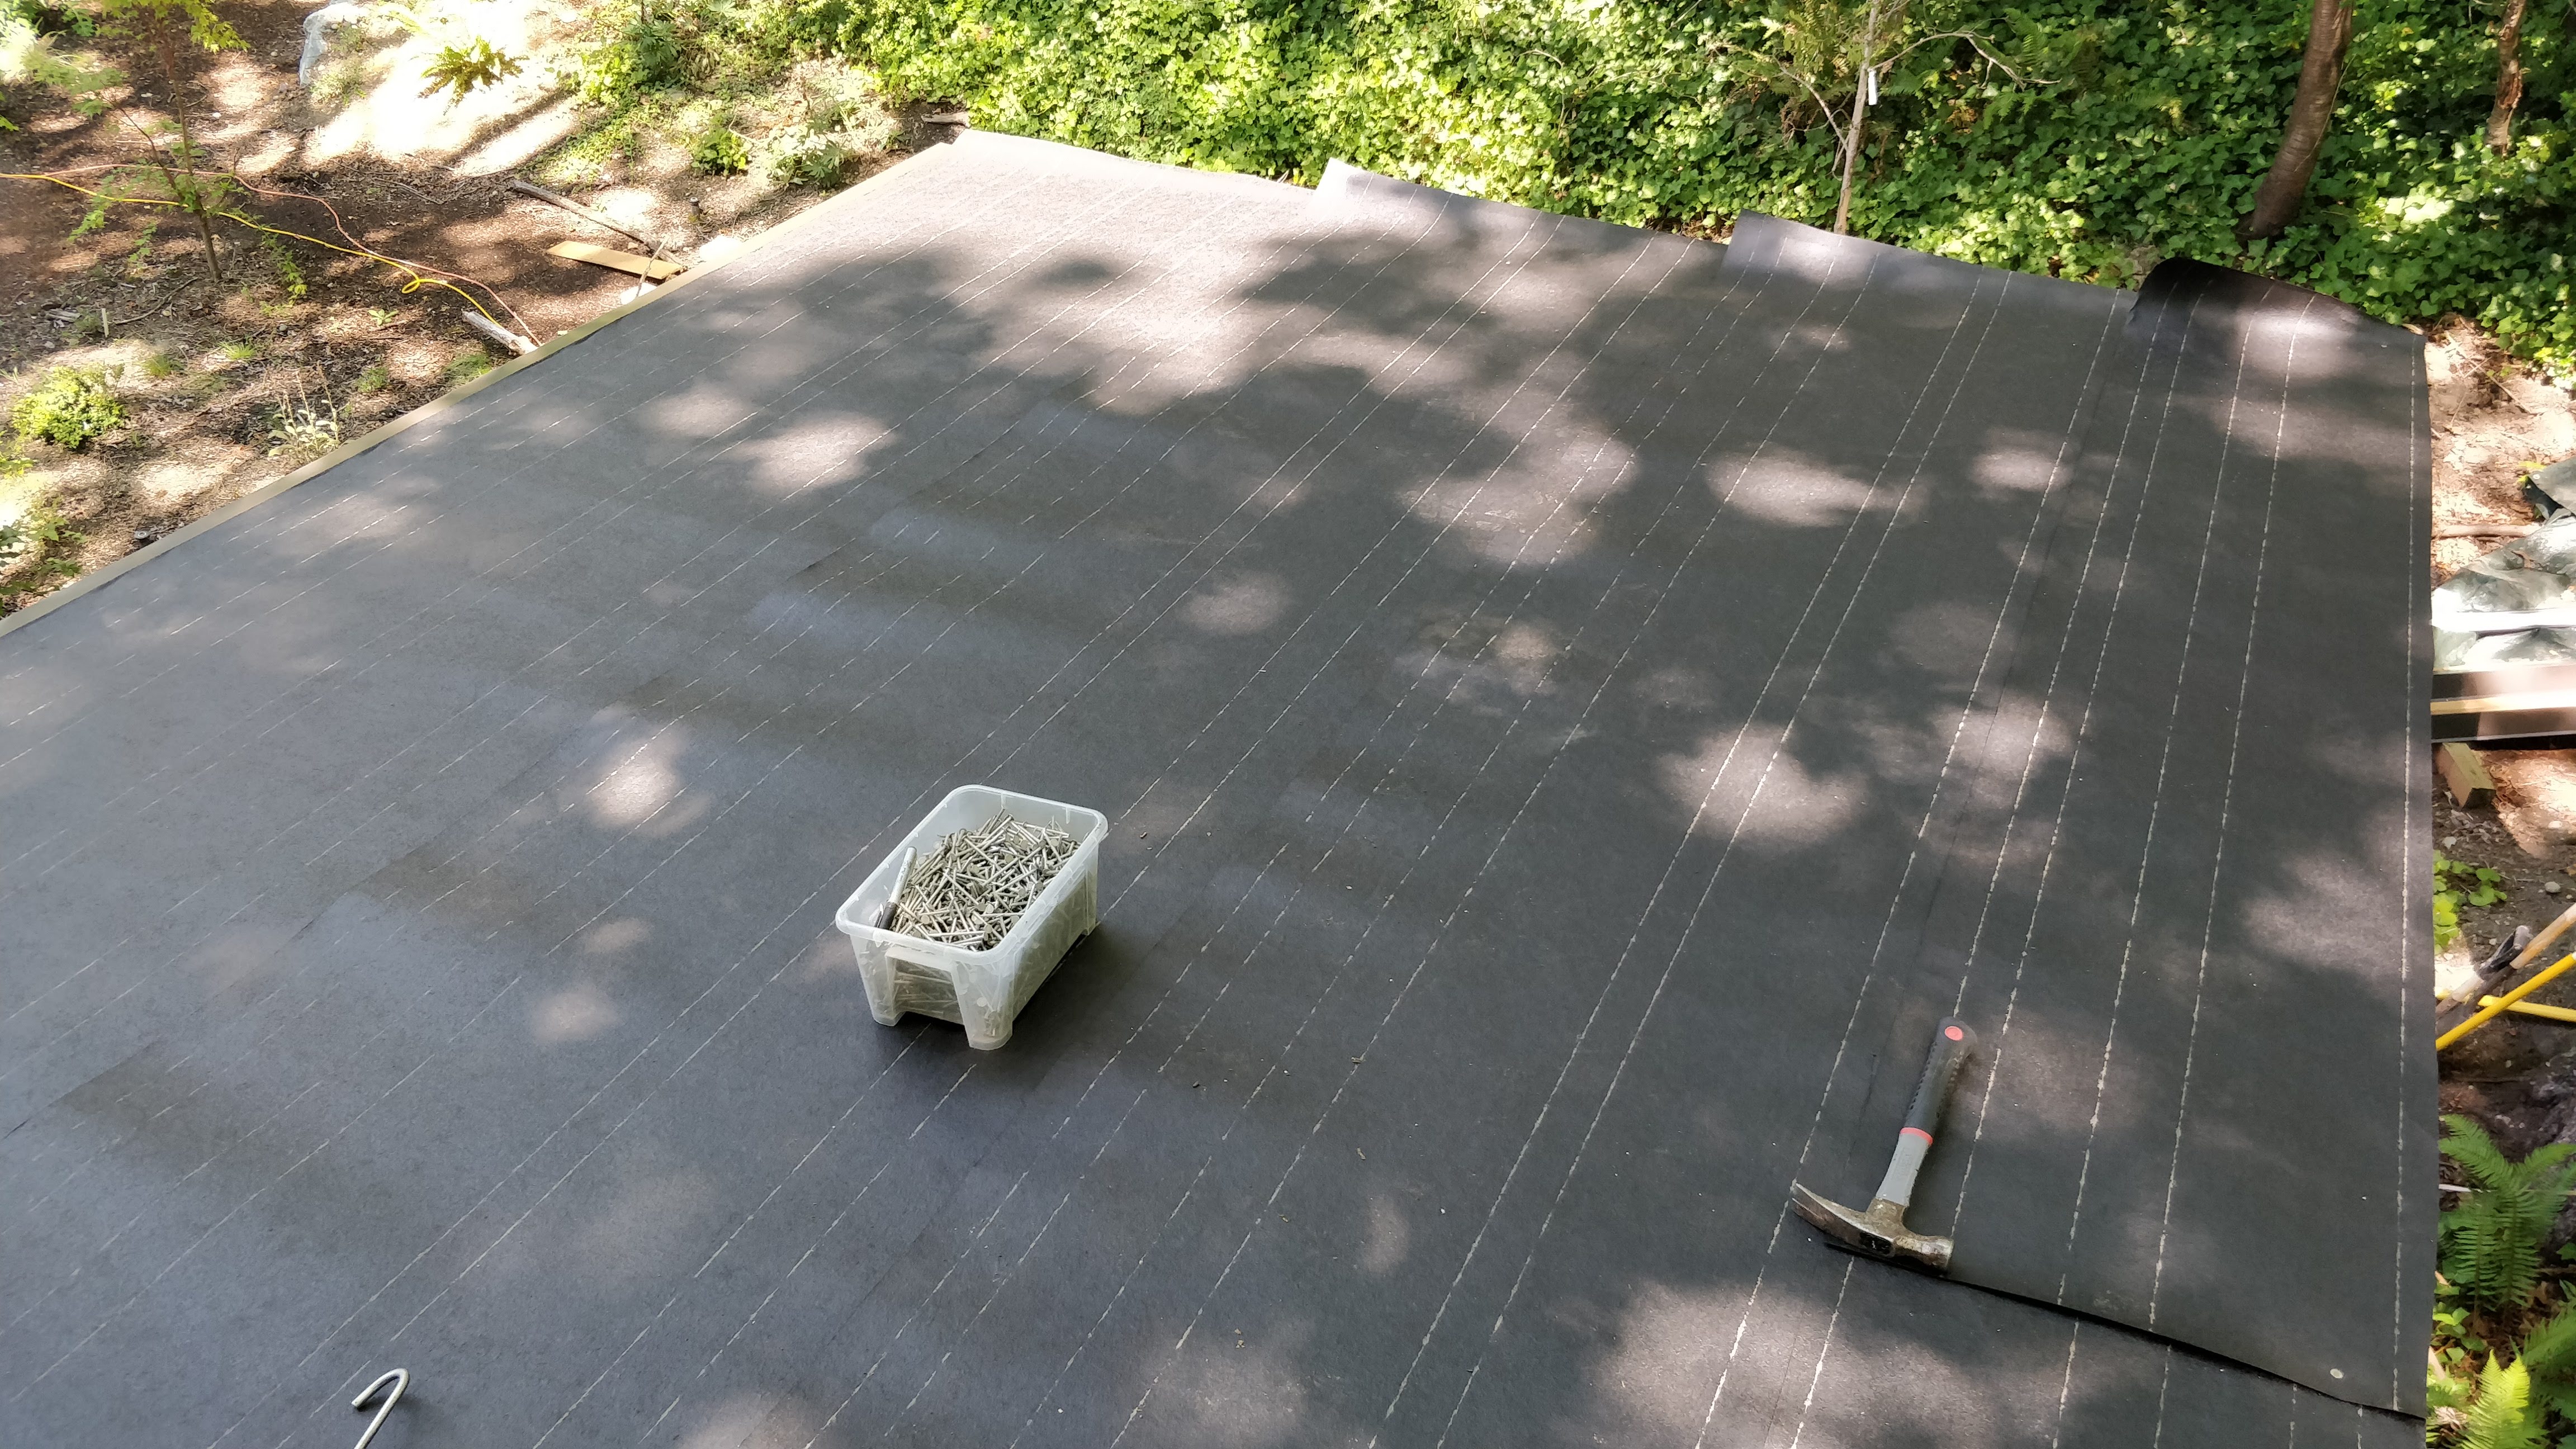
After that it was pretty easy to finish up the rest of the job with the main panels locking nicely into one another, trimming up the sides with gable trim (TSNGT) and the back with shed metal (TSNSM).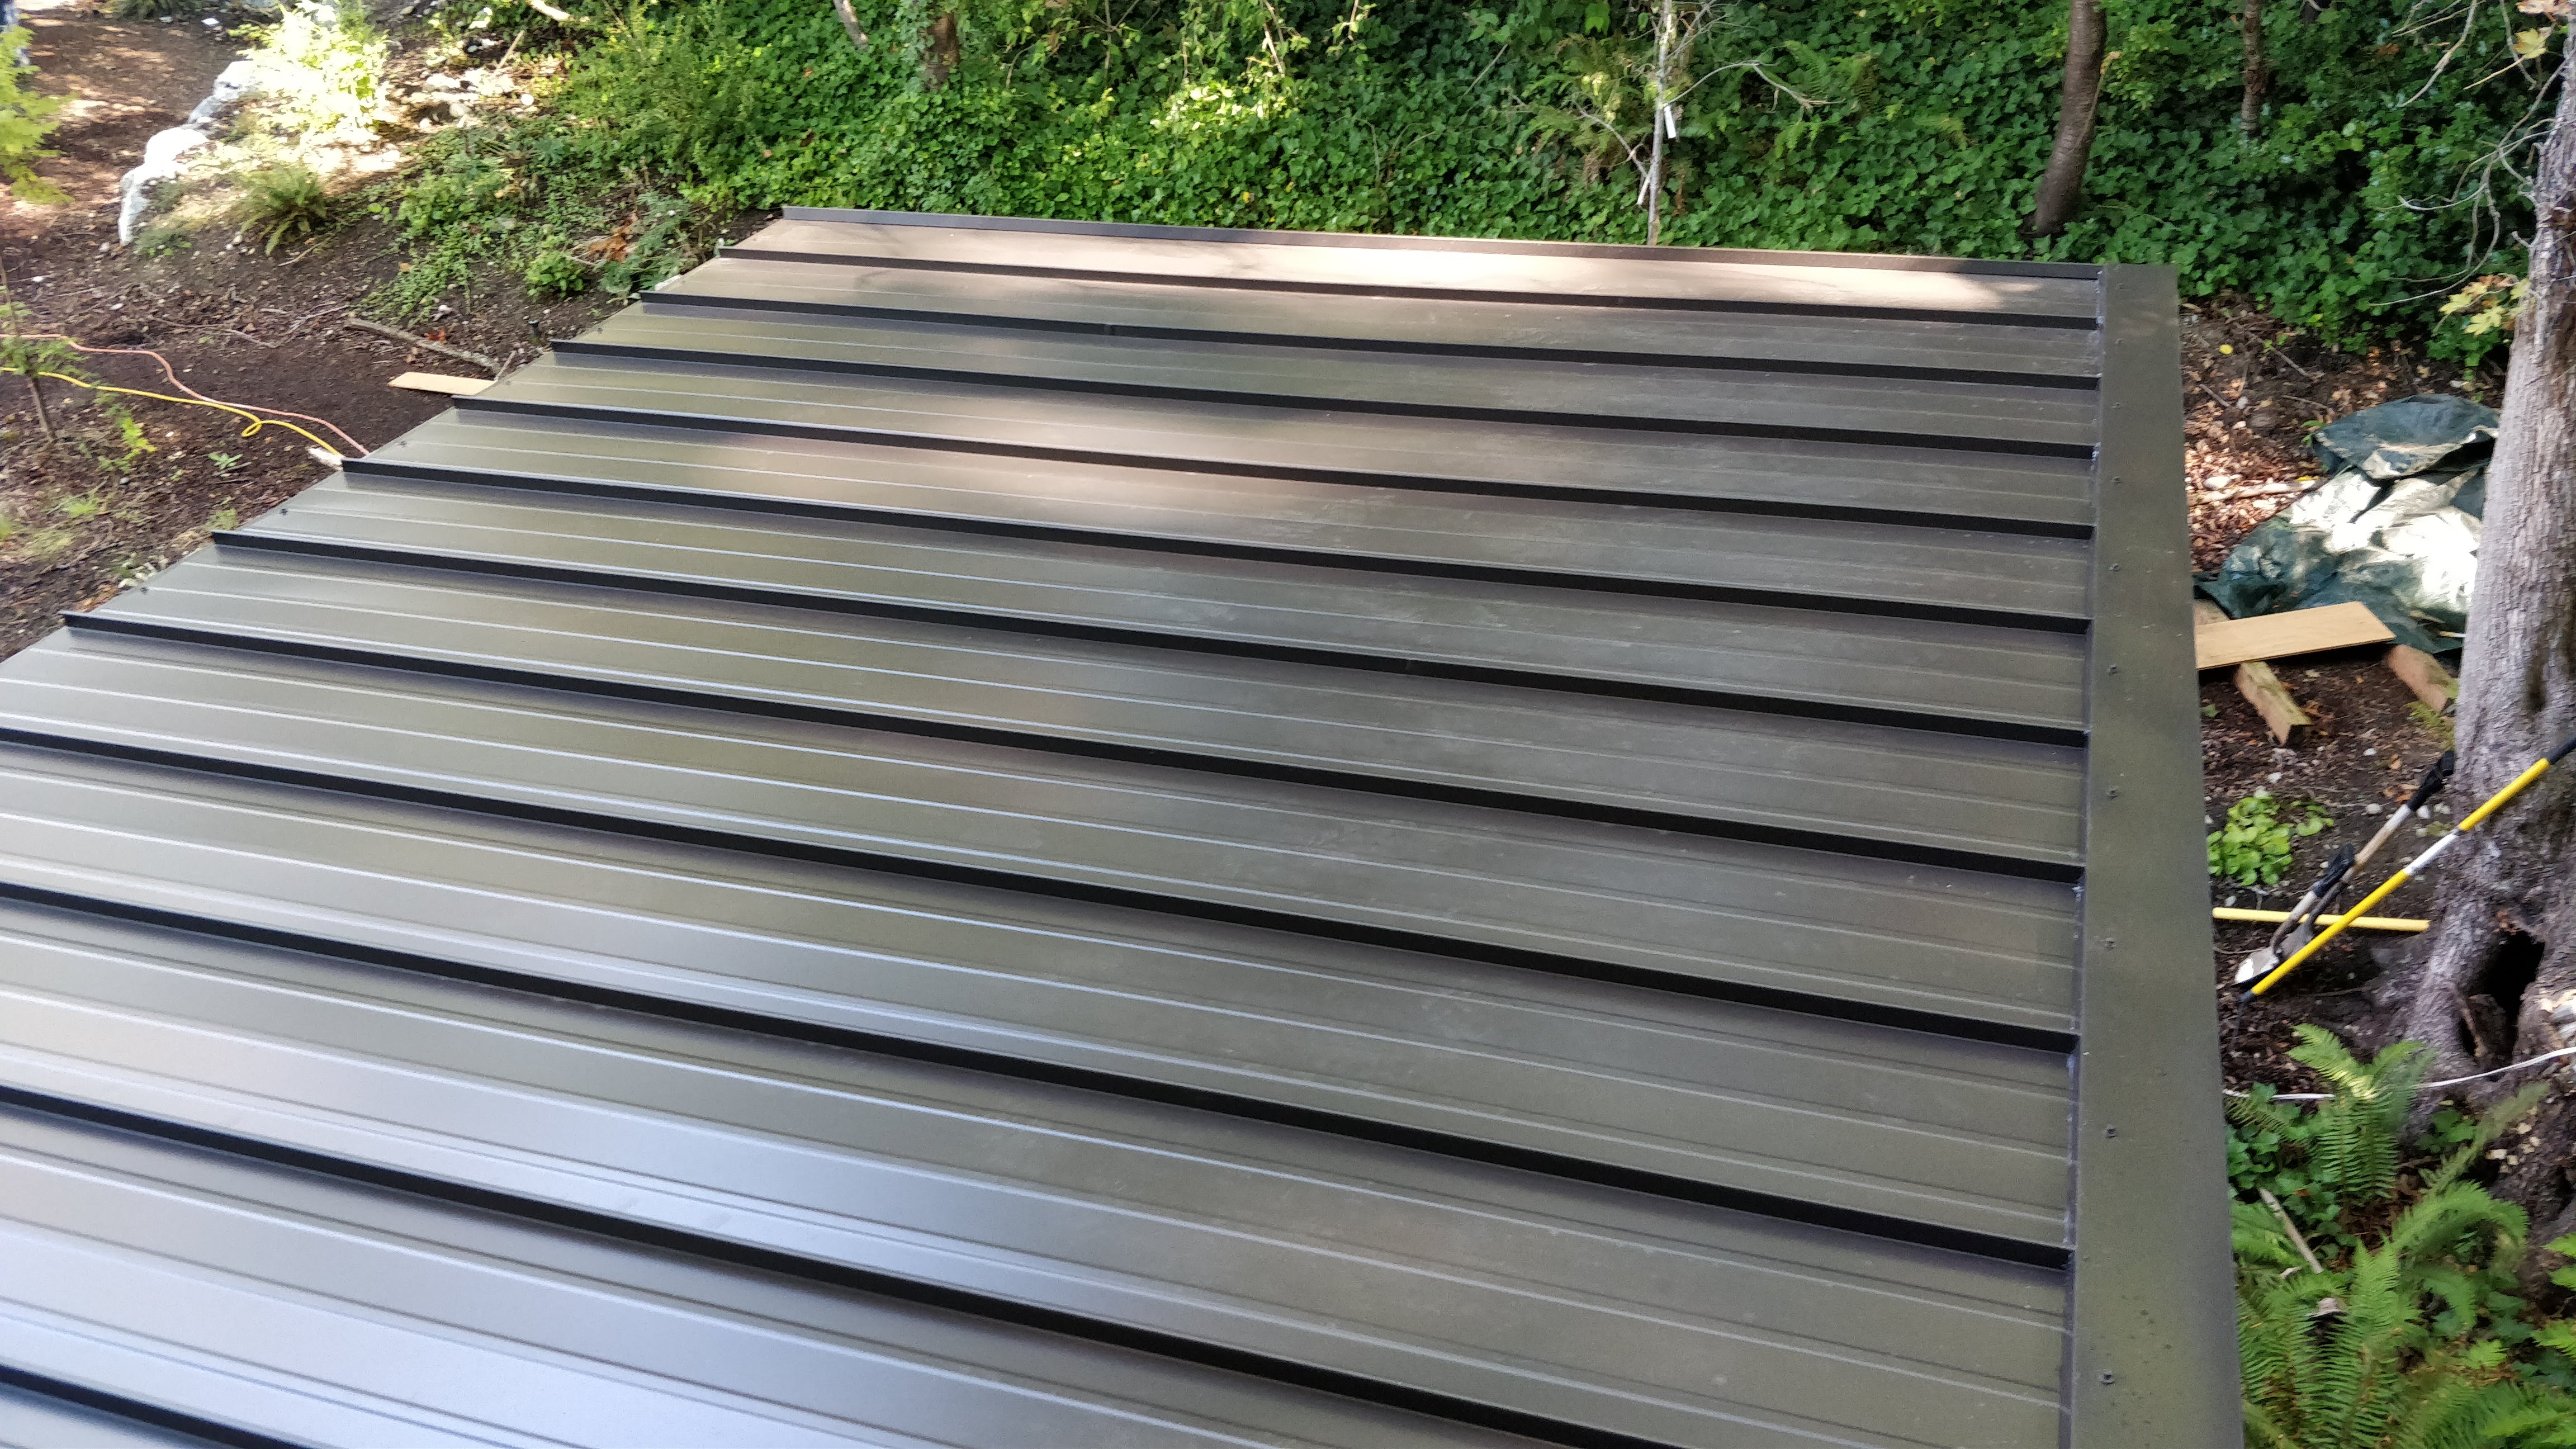
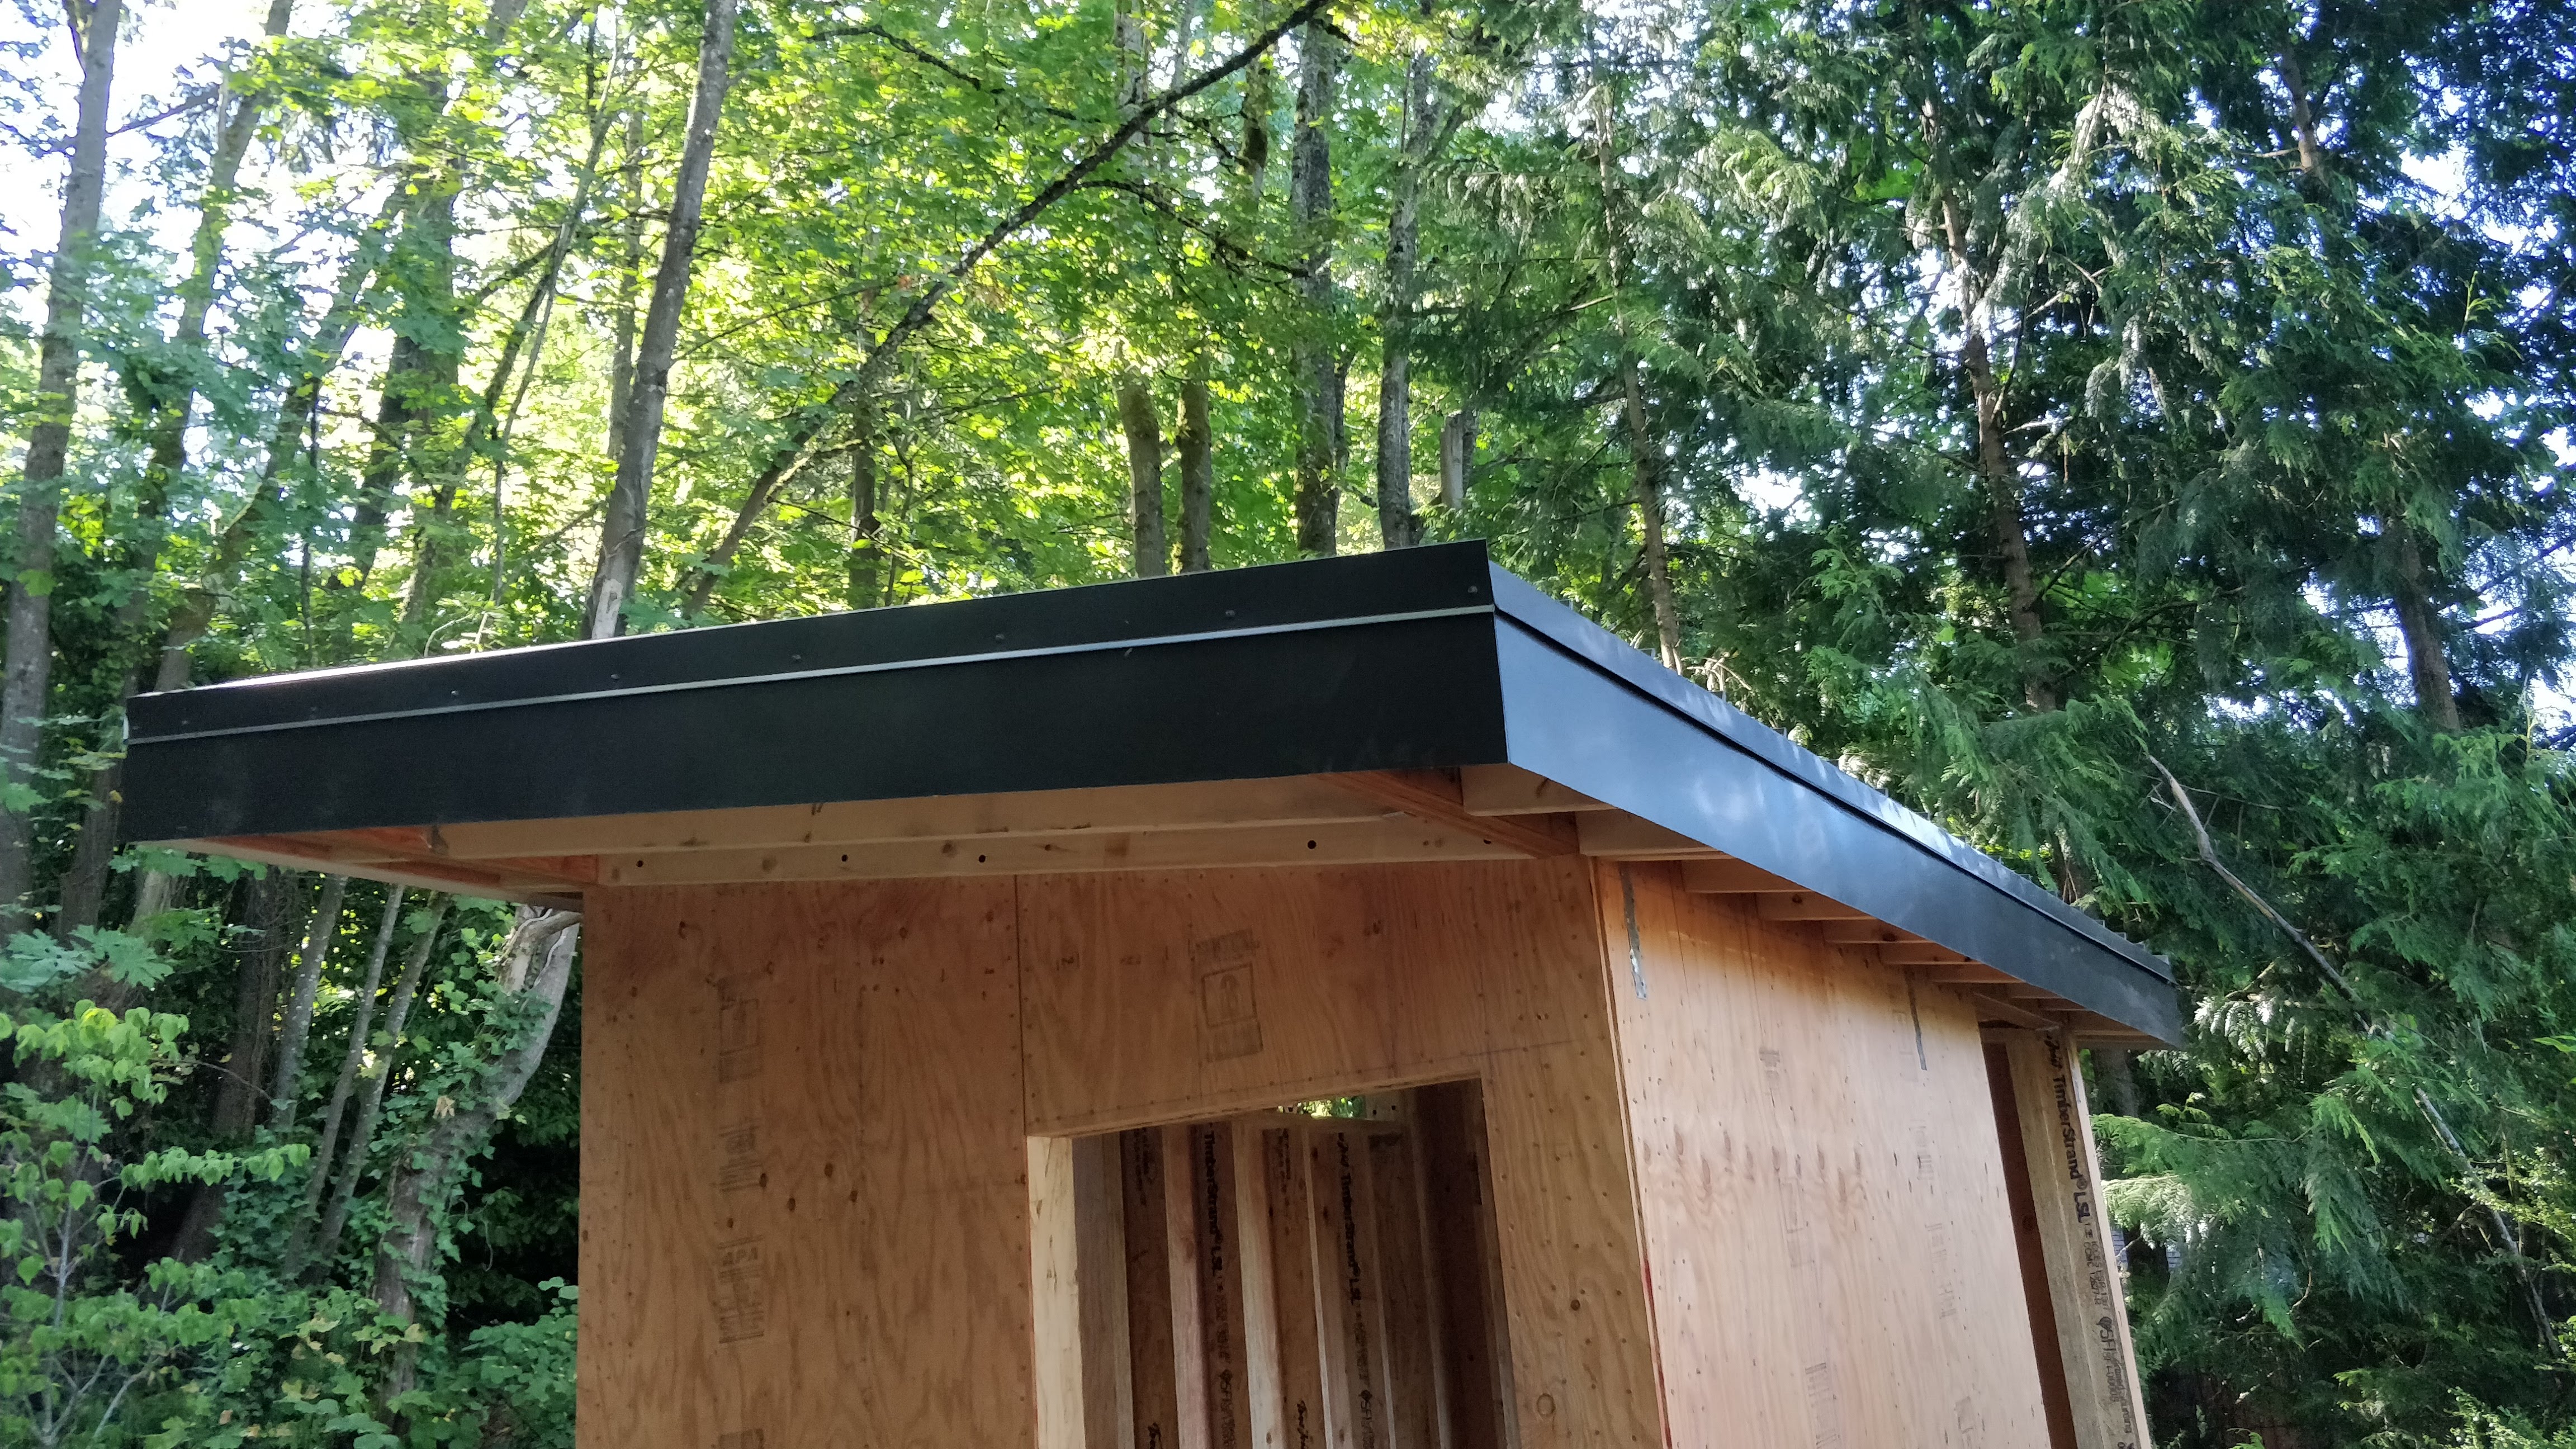
Somewhere along the way I also used some cutoffs of some angled stock to insert some corners into the fascia corners to provide some more continuity there.
I'm quite happy with how it came out, I just wish it had been a less challenging process...
Lessons learned
- Double-check any phone orders in writing to make sure you'll be getting the right parts.
- And/or double-check your deliveries the moment they get there.
- Roofing material gets really hot in July. I could work on this for the first few hours of the day and then the material just got too hot to handle.
| « Cottage roof | Windows » |